When laying laminate or carpet, a healthy and even subfloor is the key to a professional finish – so make sure you check the condition of your floorboards first.
In this guide, we’ll explain why it’s essential to prepare and level your subfloor before installing new flooring, then show you exactly how to do it.
In this guide
Tools you may need
Here’s everything you might need to get your wood subfloor ready for laminate or carpet:
- Knee pads
- Safety glasses/goggles
- OSB or WBP plywood boards
- Wooden batten
- Hammer
- Orbital or belt sander
- Drill/Screws
- 20-25mm wood nails (we recommend Annula Ring Shank versions)
- Self-levelling compound/mixing bucket/trowel
- Panel saw
- Underlay
- Tape measure
- Spirit level
- Pencil
Why you need to prepare and level a wood floor

Floorboards can warp and lift over time, leaving you with an uneven surface. If you don’t prep your subfloor before laying your laminate or carpet, get ready for the following issues:
- Dips and bumps that show through your new flooring
- Annoying squeaks and creaks caused by walking on loose or uneven boards
- Slips and trips when walking across raised and hollow areas
- An uncomfortable feeling underfoot
- Trickier installation, which could lead to structural issues
- Uneven pressure points, causing laminate to buckle and separate and carpet to stretch and wear prematurely
By getting your subfloor into decent shape before you start, your new flooring will not only look great but last for years.
Things to check before levelling
Inspect the condition of your existing subfloor and work your way through this checklist:
Are there any rotten or damaged floorboards?
You’ll need to swap them for new ones before you go any further. If most of your floorboards have seen better days, it makes more sense to rip them all up and replace the whole subfloor, or your new flooring won’t be adequately supported.
Are any of the floorboards loose?
Screw them down to secure them – don’t use nails, as they can slacken over time and cause creaking.
Could there be any hidden pipes or cables beneath the subfloor?
Avoid any nasty surprises by checking with a pipe and cable detector before securing any boards.
Are there any old nails or screw heads sticking out?
Hammer nails in so they’re flush with the surface and countersink screws.
How level is your subfloor?
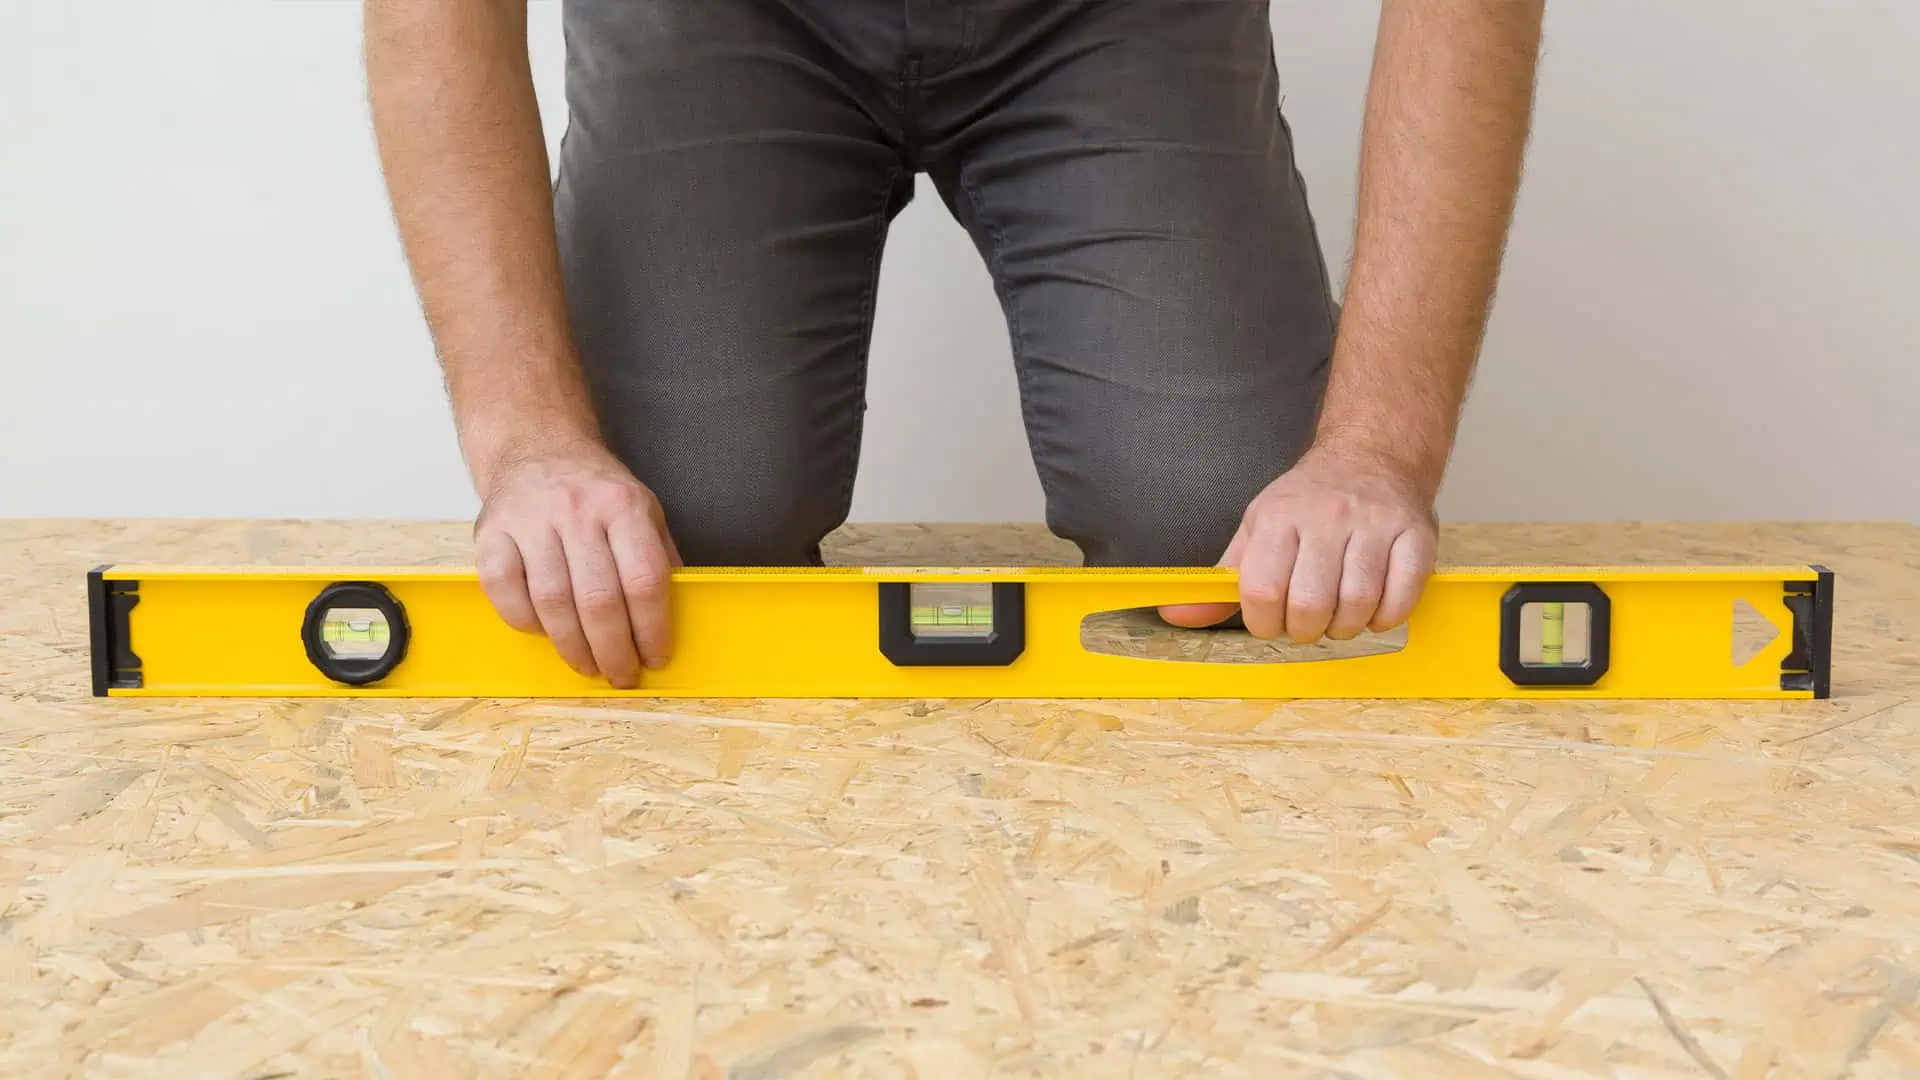
Use a long spirit level to determine exactly how much unevenness you’re dealing with—any irregularities over 3mm need levelling out.
Are there any raised areas?
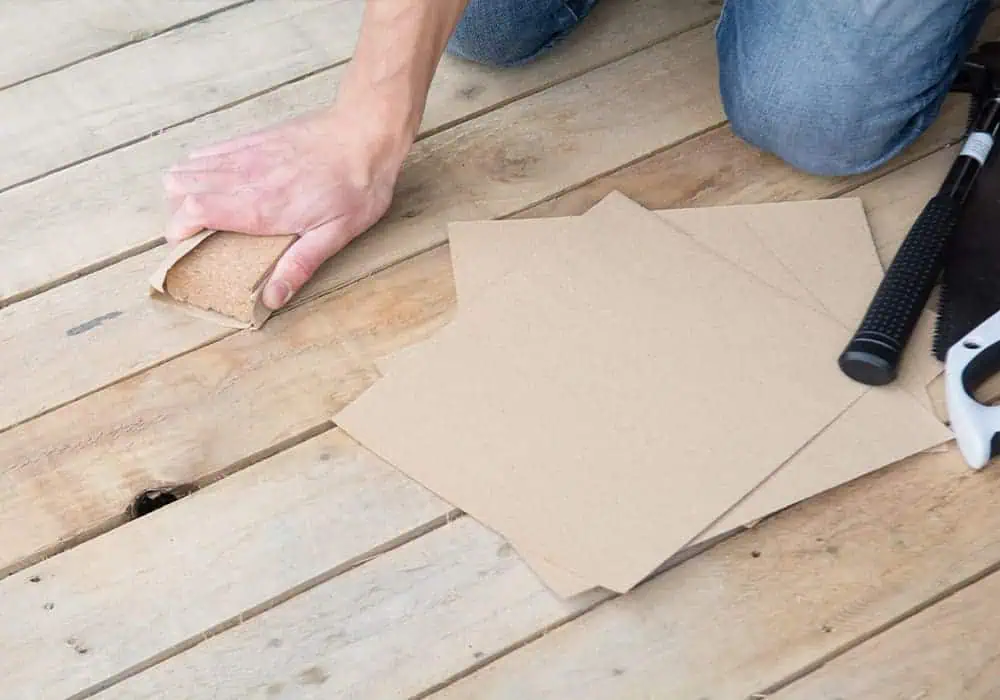
High spots on your floorboards can be lightly smoothed with an orbital/belt sander or good old-fashioned sandpaper. Remember your knee pads and safety goggles.
If all the above is in order, the levelling process can begin.
Levelling your subfloor with boards
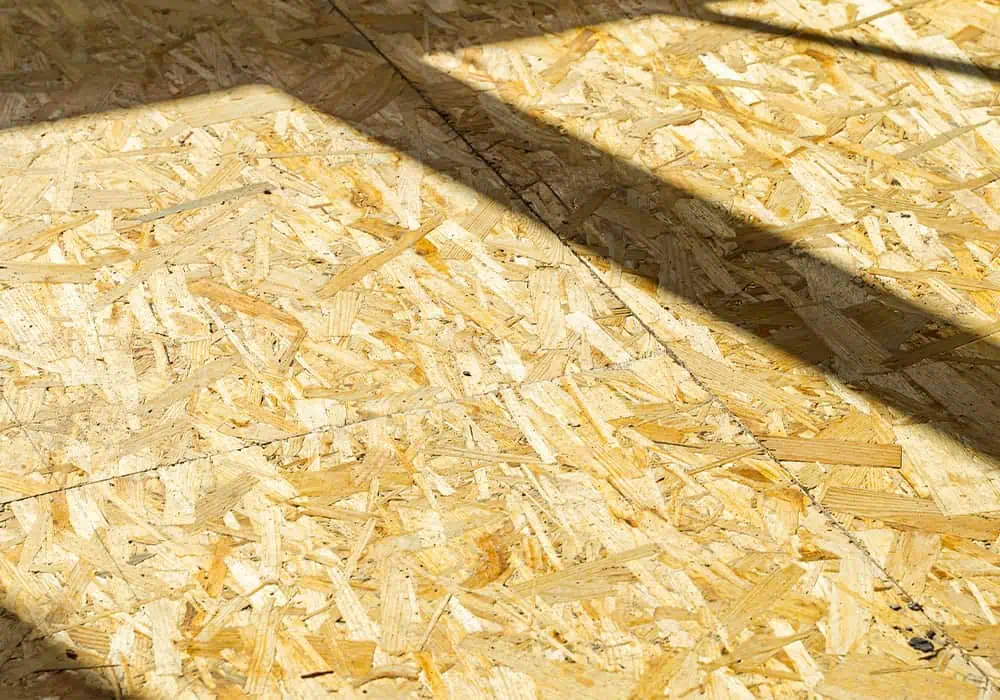
The best way to achieve a stable, level surface is to install a new layer of boards over your existing floor. However, be aware that laying new boards on the existing subfloor will increase the overall floor height.
If the door opens into the room, you may need to plane or cut some off the bottom and rehang it. If this is the case, be sure to take into account the thickness of the new floor covering when marking up how much needs to be removed.
We recommend using OSB (oriented strand board) or WBP (weather and boil-proof) plywood when levelling a floor as they are both moisture-resistant.
Here’s how to level your wooden subfloor in 5 easy steps:
Step 1: Choose the right boards
Choose plywood sheets or OSB with a thickness of 3-6 mm (depending on the level of unevenness you’re experiencing.)
These sheets are available in various sizes, so figure out what works best for you and the space you’re levelling.
PRO TIP: For fewer joins and a quicker installation time, go for larger sheets.
Step 2: Measure up
Once you’ve decided on your boards, note their length and width and determine how many you’ll need for your space.
We recommend ordering a little extra to deal with any unexpected issues or wastage.
Step 3: Condition and acclimatise the boards
Condition your boards by spraying the rough side with water. Wetting the sheets causes them to expand slightly before they’re fixed. When they subsequently dry out, they will contract a little – this process prevents bumps or uneven joints from forming due to any expansion after they’re fixed.
To help them acclimatise, stack the sheets flat (rough sides facing each other) in the room they will be fitted in for at least 48 hours before installation.
Step 4: Fix your first board
Measure the room to find your midpoint, and starting in the centre, lay your first sheet (smooth side up) so its longest side is at a right angle to the direction your current floorboards run.
PRO TIP: To speed up the process, cut a piece of wooden batten to 150mm for the correct spacing between nails.
Using 20-25mm stainless steel wood nails (Annula Ring versions will ensure a secure fix) and a hammer, secure the sheets carefully to the subfloor, making sure the nails are spaced a maximum of 150mm apart in all directions.
Although you could use wood screws for fixing, we recommend short wood nails because they are quicker to install and will secure the boards to the existing floorboards without penetrating them fully.
Make sure the nails sit flush with or slightly below the surface and that those around the edges of the board are no more than 15mm from the outer edge.
Nail the boards on the long side first and work diagonally towards the corners in a triangle pattern. This prevents the sheet from buckling as you attach it.
Step 5: Stagger and fix the remaining boards
Once your first sheet is fixed, place and secure the rest around it in a staggered brickwork pattern (i.e. a ‘running brick bond’). Staggering the joints gives the floor strength and avoids weak spots.
GOOD TO KNOW: Each stagger should be at least a quarter of a length of sheet.
To reduce wastage and maintain a staggered pattern, start the next row with the offcut from the last sheet in the previous row.
If you end up with a space between the wall and a board, you’ll need to cut a strip from a new sheet to fill the gap. It’s important to make sure the existing subfloor is completely covered.
If there are any obstacles in the room, you’ll need to cut your board. Make a template of the object, mark where you need to cut it, and use a jigsaw or panel saw to cut out the shape. Then, simply slot it into place.
How to further level your floor
With some wooden subfloors, even after installing plywood or OSB, sags can still show – but there’s always a solution.
In these cases, we recommend using a self-levelling compound over the top of the newly boarded surface to correct the uneven areas.
Apply a self-levelling compound
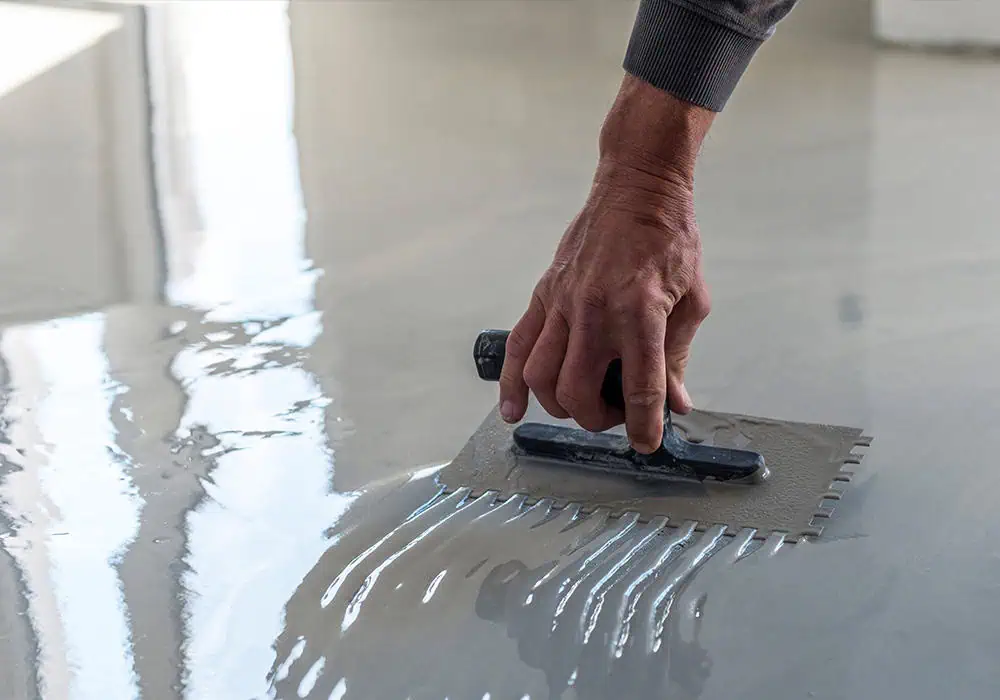
First, you must choose a self-levelling compound suitable for wooden floors. Try Mapei Ultraplan 3240 Self-Levelling Compound or Ardex FA 20.
Always check the manufacturer’s instructions for accurate application and subfloor suitability before applying. As a general guide, to apply a self-leveller, all you need to do is:
- Clean the surface and remove any dust or debris.
- Prime the surface, if required. Check the manufacturer’s instructions.
- Mix the self-leveller with water in the recommended ratio and then pour the compound onto the subfloor at the lowest point (typically where dips or irregularities are most noticeable).
- Use a trowel to guide the compound across the surface, where it will naturally flow into dips and low areas.
- Run a spiked roller over the surface to remove any trapped air bubbles, if required.
- Once dry, use your sander to smooth the surface, if necessary.
You will need to work quickly, as these products often set quickly. Also remember that you can layer up as needed and spread more in particularly uneven areas to achieve a perfect level.
Install underlay
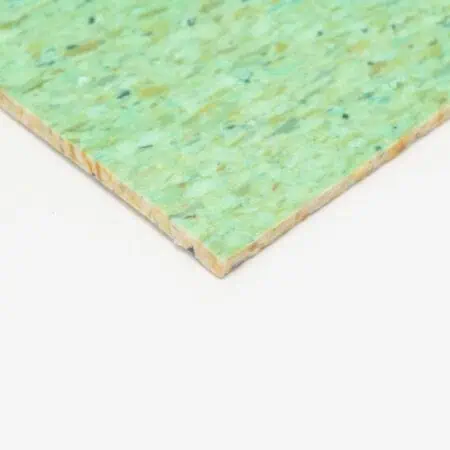
Remember to install a quality underlay before laying your laminate or carpet. Not only will it help reduce noise, retain heat, provide cushioning and prevent wear, but it’ll also help smooth out any minor imperfections.
Here’s our top underlay picks:
- Best wooden subfloor underlay for laminate: Duralay Timbermate Excel
- Best wooden subfloor underlay for carpet: SU LuxWalk 11mm
You’ve levelled up
By following the steps in this guide to give your wooden subfloor some TLC before you lay your new flooring, you’ll add years to its lifespan while ensuring it also looks its best.

