Installing laminate flooring can give your home a fresh look that lasts, if it’s done properly. In this guide, we break the whole process down into simple steps to help you achieve a professional result.
From everything you need to know about prepping your floor, to the products and trade tips that will make your laying your laminate easier – we’ve got you covered.
In this guide
Tools you may need
Here’s everything you’ll need to lay laminate flooring in your home:
- Underlay
- Knee pads
- Goggles
- Spacers (10-12mm)
- Tape measure
- Spirit level
- Pencil
- Utility knife
- Workbench
- Jigsaw/panel saw/hand saw/mitre saw/multi-tool
- Pull bar
- Hammer
- Beading and panel nails
- Wood adhesive
- Set square
How to prepare your floor for laminate
Laminate flooring is only as good as the foundation beneath it, so make sure your subfloor is clean, dry and level before any planks go down. If you don’t, it can significantly affect the lifespan of your laminate.
Clear the area
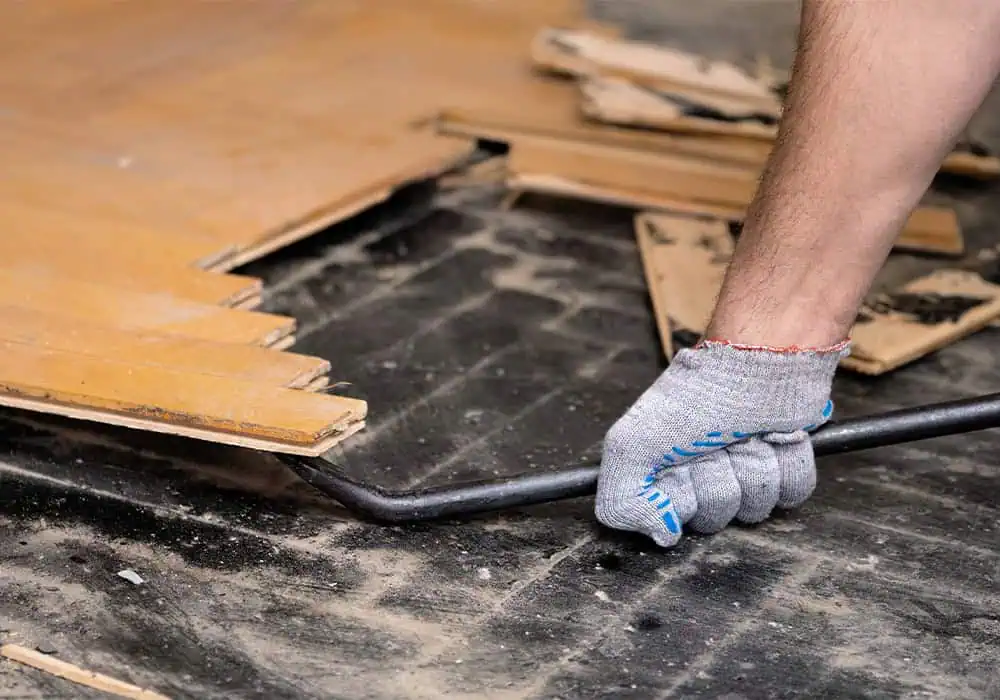
Remove any furniture or belongings from the space, and pull up any existing flooring and fixings (including old gripper rods and adhesives).
We advise against laying laminate over tiles, carpet or any other type of flooring to avoid an uneven surface and the risk of trapping damp.
Read more:
Make any subfloor repairs
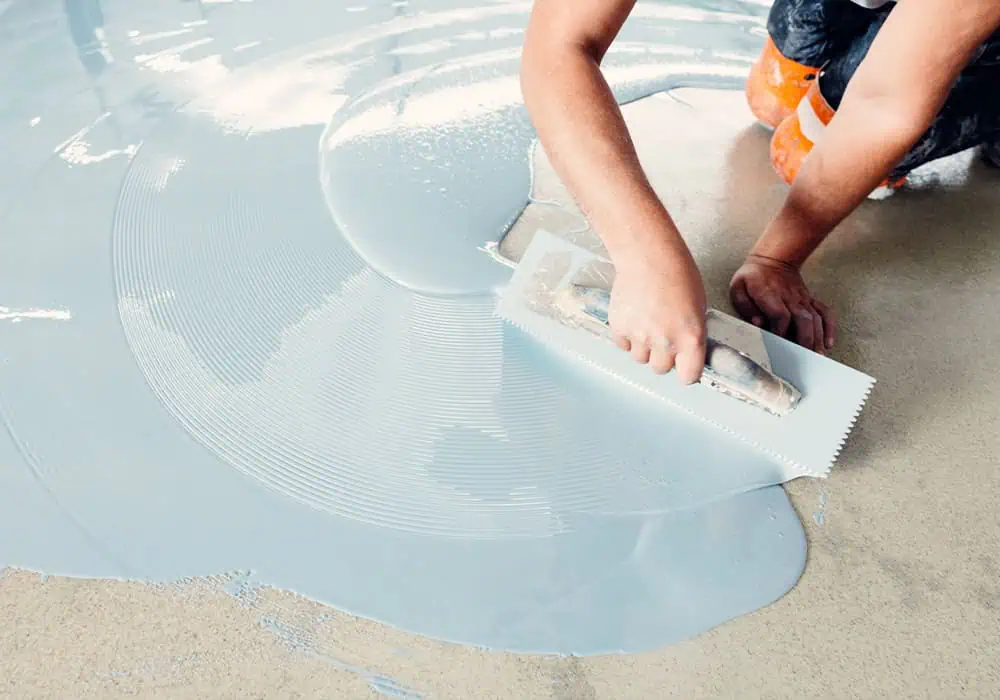
It’s important to sort out any obvious dips or bumps (over 3mm) at this stage. Use your spirit level to see whether your subfloor is level enough or needs some TLC before you get to work.
An uneven subfloor can cause the following issues:
- Shifting planks that result in unsightly gaps
- High spots that force planks to buckle and warp
- Too much pressure on the planks leading to splitting and cracking
- Hollow spots under the laminate that create irritating popping and creaking
If your subfloor isn’t level, you can use a self-levelling compound to smooth out the surface.
Remove loose nails and vacuum any dust or debris to create a clean work surface.
Read more:
- How to level a wooden subfloor
Check for moisture
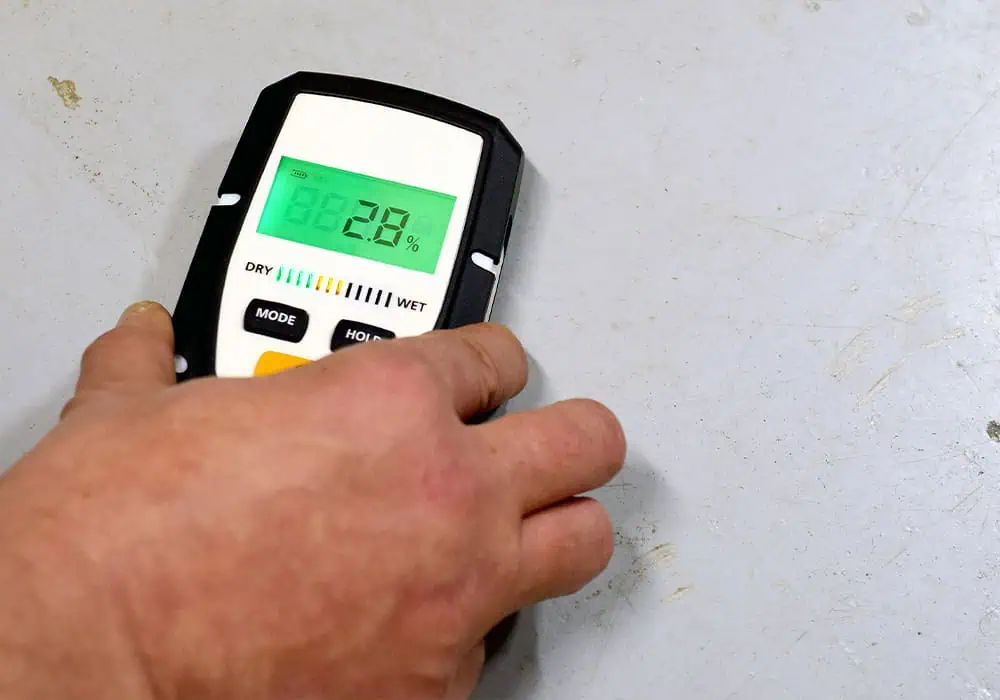
If you’re installing laminate over a concrete subfloor, damp proofing is a non-negotiable if you want to avoid water damage.
You can check your subfloor’s moisture level in two different ways:
- Tape down a square of polythene sheeting and leave it overnight. If water droplets have formed under the sheet by the morning – you have your answer!
- Use a moisture meter. An ideal moisture reading is below 12%, and ideal humidity is between 45-65%.
If you discover moisture, laying a Damp Proof Membrane (DPM) is a budget-friendly way to stop it from rising through your subfloor and penetrating your laminate.
PRO TIP: For extra protection and convenience, choose underlay with a built-in moisture barrier.
Buy a quality underlay
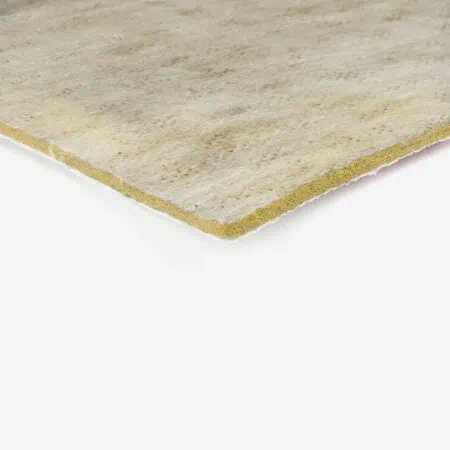
Whether you’re working with a concrete or wood subfloor, we always recommend laying a quality laminate underlay. Not only can it smooth out minor dips (of up to 3mm), but it also helps keep the heat in and the noise down, adds cushioning underfoot, and extends the life of your flooring.
Available in a variety of thicknesses and materials, different underlays offer different features. Whether you need extra soundproofing for a busy home, extra insulation for a colder room, a built-in moisture barrier for a concrete floor, or a product compatible with underfloor heating, make sure you choose one designed for your specific needs.
Here are some of our top picks to pair with laminate:
- Best value laminate underlay: Duralay Timbermate Excel
- Best noise-reducing laminate underlay: Duralay Silentfloor Gold
- Best laminate underlay for concrete subfloors: Duralay Timbermate Excel
- Best laminate underlay for underfloor heating: Duralay Heatflow Laminate
PRO TIP: For optimal ground levelling and comfort, we recommend a thickness of 3-5 mm for laminate underlay – anything thicker can cause the boards to rock and the locking system to unclick.
Let your flooring acclimatise
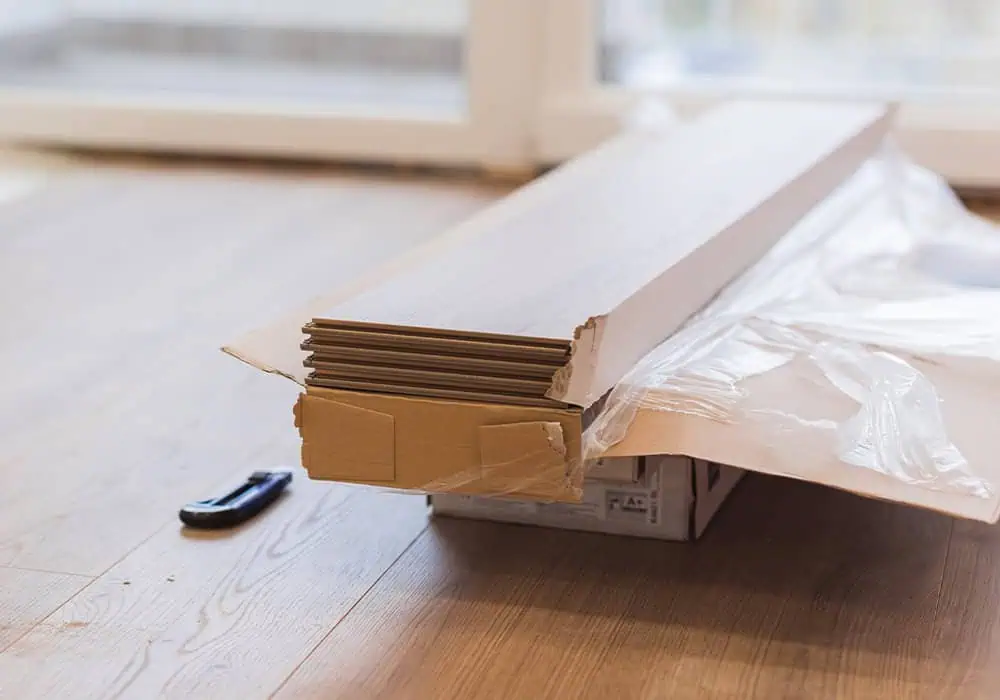
Laminate flooring needs time to adjust to the room’s temperature and humidity, so leave your unopened packs in the room they’ll be laid in for at least 48 hours beforehand.
This stops the planks from expanding or shrinking after installation, which can lead to the gaps or buckling mentioned earlier.
Laying laminate flooring: general tips
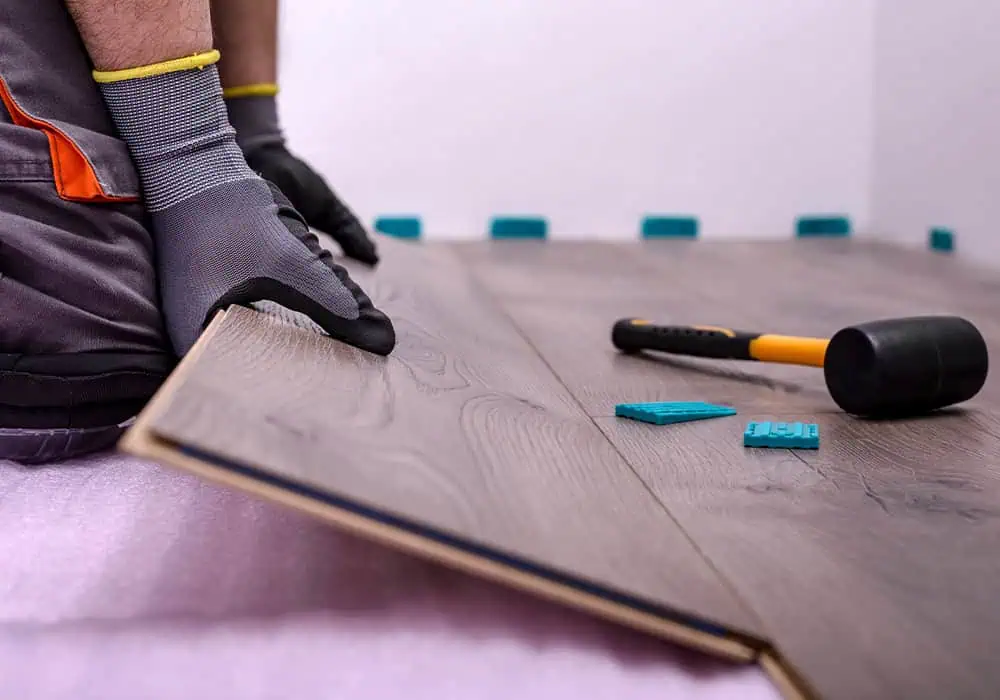
Now we’ve covered the prep, here’s a few pointers before you begin:
- Use knee pads and safety goggles – trust us on this one.
- Practice clicking planks together beforehand by angling the tongue side into the groove.
- Remove skirting boards and reattach them later to cover expansion gaps.
- Add beading to cover the gaps if skirting boards can’t be removed.
- Dry-lay your planks before you start. This will help you visualise how your flooring will look, decide which way to lay your planks and work out cutting measurements.
- Lay planks parallel to the longest wall and towards a light source for fewer cuts and a more natural look.
- You can lay planks horizontally or vertically. Lay planks horizontally to make a small room appear bigger.
- Always start from the left corner of the room with the tongue side of the plank facing the wall.
- Use 10-12mm spacers to create an expansion gap around the entire perimeter of the room.
- Mix planks from different packs to create a natural variation of shades and grains.
- Stagger your joints by at least 300mm for added stability and a professional finish.
- Plan ahead to ensure the last row is at least 60mm wide to avoid narrow edge planks.
- The first row is the most important, so set a string line to ensure it’s perfectly straight. To do this, measure the width of your laminate plank and add your chosen expansion gap. Measure this total distance from the wall and gently hammer a nail into the spot. Repeat this at the other end of the room, then tie a string between the two nails.
How to fit laminate flooring: 10 easy steps
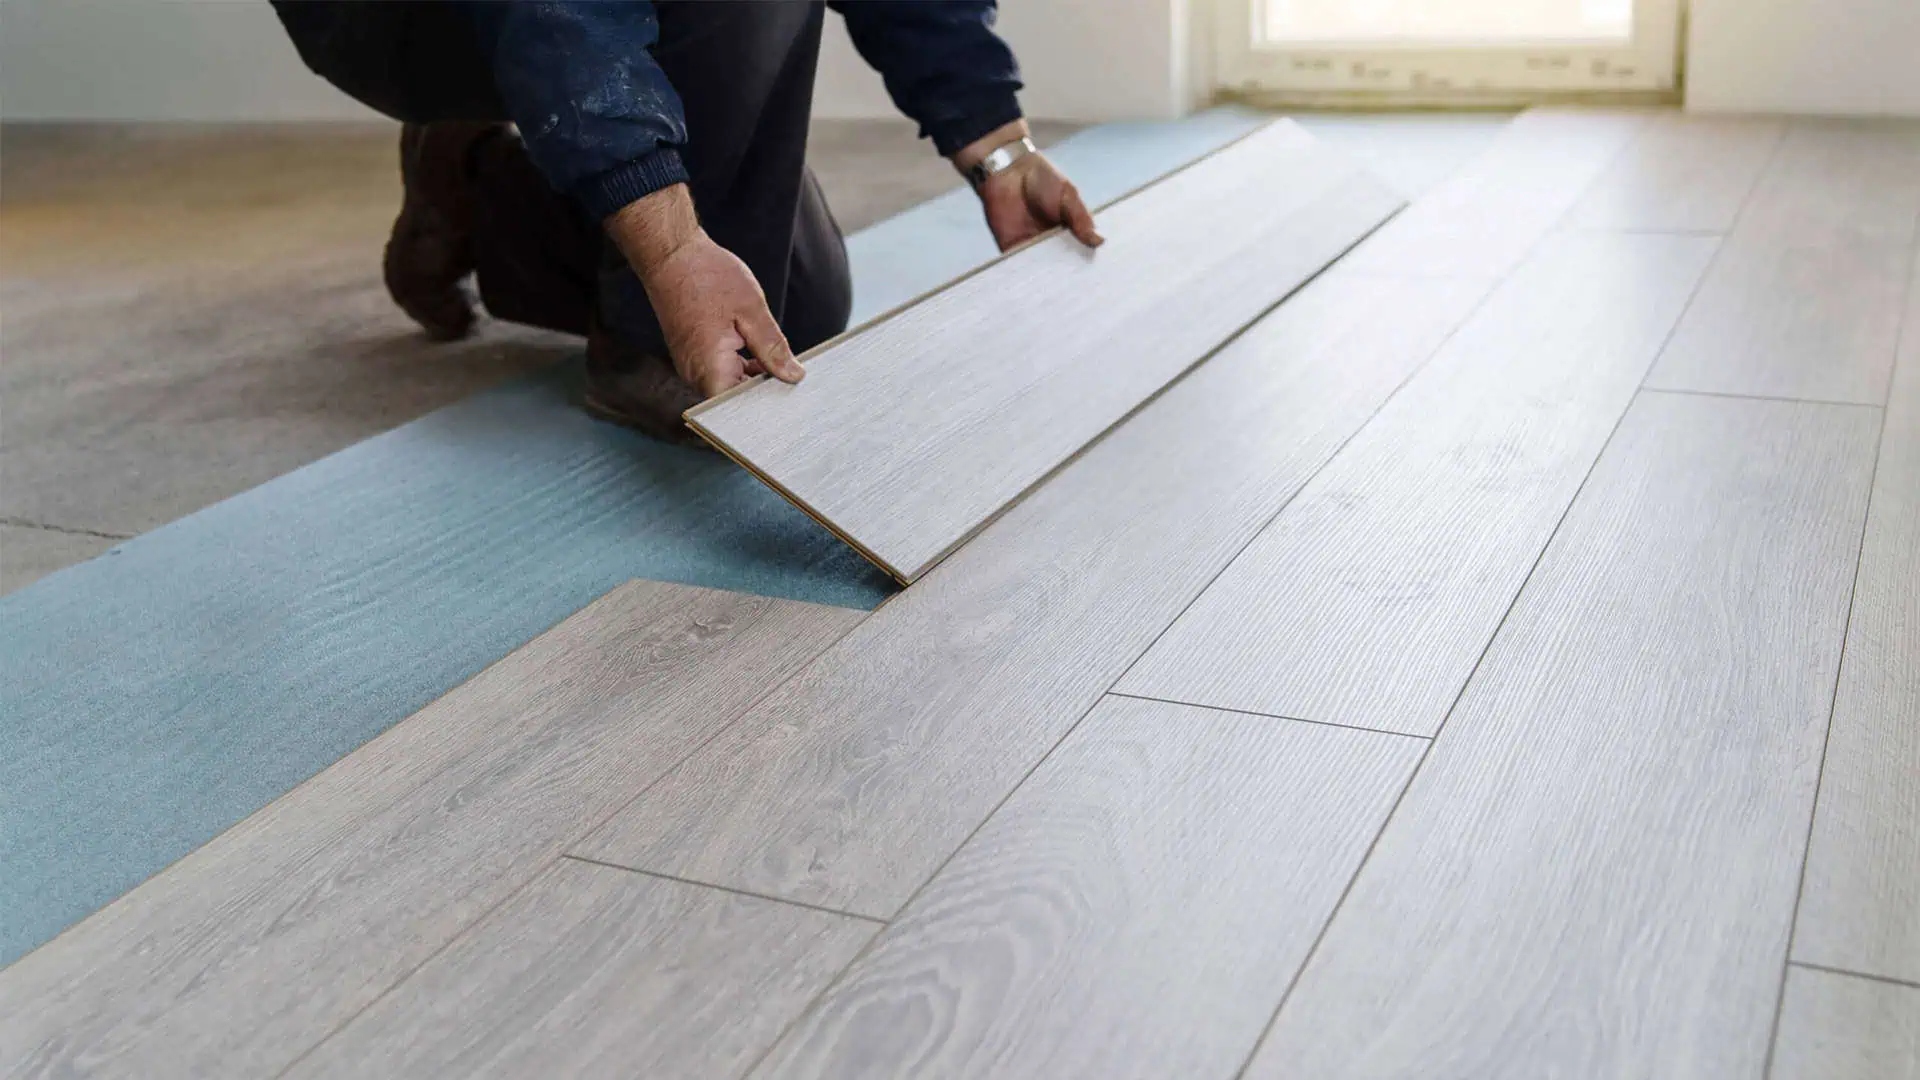
It’s time to lay your floor. ‘Floating’ the planks on top of laminate underlay is the easiest installation method, as it works well on all subfloors and doesn’t need adhesive—making it ideal for DIYers.
Step 1
Roll out your underlay and cut it to size with a utility knife. Cover the entire subfloor.
Tape the seams between each piece with waterproof underlay tape to prevent them from sliding and moving as you position your planks. This will also stop moisture ingress and updraughts from the subfloor below.
Remember to lay underlay with a built-in DPM if you’ve got a concrete subfloor.
Read more:
Step 2
Lay down your first plank in the corner of the longest wall. The tongue side (the side which overhangs at the top) should face the wall.
Step 3
Insert 10-12 mm spacers at intervals between the plank and the wall (two or three along the length and one along the width) to allow for your expansion gap.
Step 4
Take the next plank in the row and angle it into the end of the first until it clicks into place. Add spacers to maintain a consistent gap between the boards and the wall.
Repeat this process until you cannot lay any more full boards.
Step 5
To fill the gap at the end of the row, you’ll likely need to cut a plank to size. To do this, take a new plank, flip it over, line it up parallel to the first row with a spacer on the end wall, and then mark your cutting line. When doing this, be sure you’re not cutting off the locking mechanism at the end of the plank.
Get your goggles on, clamp your plank to your workbench and make a clean cut using a jigsaw or panel saw.
Slot it into the gap and click into place. Remember to maintain your expansion gap where the end meets the wall.
Using your string line, ensure the row is perfectly straight before moving on to Step 6.
Step 6
If the offcut from your last row measures more than 300mm, use this to start your next row. If not, cut a new plank in half and use that instead.
On your second row, insert a spacer against the wall, lower the tongue of your offcut into the groove of the last row and click into place.
Step 7
Repeat the process above for the rest of the rows, ensuring the joints are staggered throughout.
Step 8
When you get to the edge row, measure the gap between the last full row and a spacer—this should ideally be at least 60mm to avoid narrow edge planks.
Cut the plank to size (factoring in your expansion gap) and click into place.
Step 9
Being careful not to scuff the wall or damage the flooring, place the short, hooked end of the pull bar against the edge of the last row and gently tap the flat end with a hammer.
This will pull the laminate tightly into place.
Step 10
Remove the spacers and cover your expansion gaps by reattaching your skirting boards. If skirting boards cannot be removed, you can use beading (also known as edging or scotia).
How to install beading:
- Measure the wall length and cut the beading to size using a mitre saw. For a professional finish, cut internal and/or external 45° mitres at corners.
- Place the beading along the skirting board, covering the expansion gap but not touching the laminate.
- To attach the beading to the skirting board, use headless panel nails (an electric nail gun makes the job much easier) or a quality adhesive like GripFill. If using nails, space them every 300-400mm for a secure fit.
Laying laminate in trickier areas
Here’s how to tackle radiators, door frames and corners:
Radiator pipes
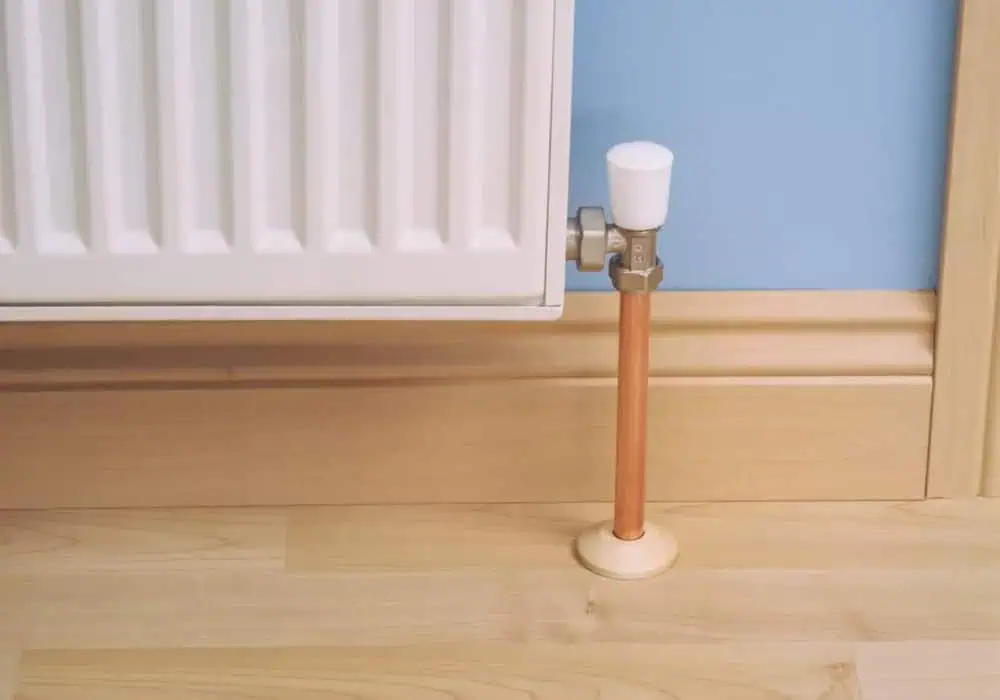
Fitting laminate around your radiator pipes is relatively straightforward when you know how:
- Lay the plank in position and mark where the pipe will intersect the plank. Remember to account for your 10-12mm spacer at the wall.
- To allow for the laminate’s expansion, drill a hole slightly larger than the pipe’s diameter (usually around 32mm) at the marked spot.
- Draw two straight pencil lines from the hole to the short side of the plank, then use a jigsaw to cut along them and create a notch. Hold onto the offcut – you’ll need it next.
- Lay the plank in position, sliding it around the pipe.
- Apply a small amount of wood adhesive to the offcut, fit it back behind the pipe, and press it into place.
- For a neat finish, add a pipe surround to cover the drill hole.
Door frames
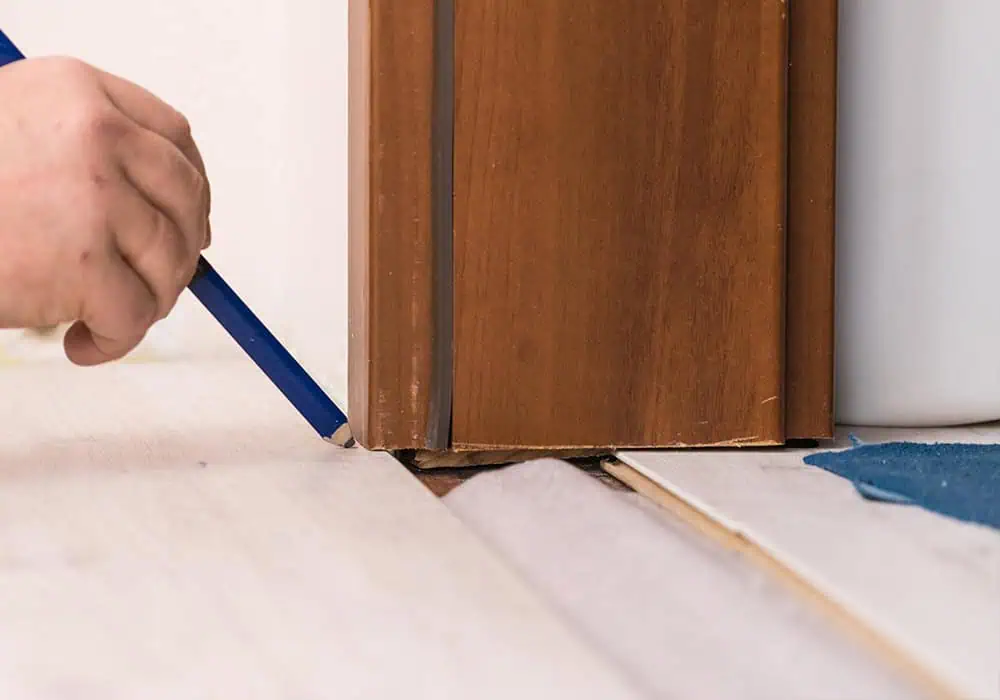
The easiest way to fit laminate around a door frame is to undercut the door frame so that the plank can slide underneath it. The alternative, cutting a plank precisely around the shape of a door frame, is an advanced-level skill that’s best left to a professional floor fitter or joiner.
To ensure your laminate slides neatly under the door frame, follow these steps:
- Take a spare piece of laminate and your underlay, stack them, line them up against the door frame, and mark a line where the excess frame needs to be trimmed.
- Use a hand saw to cut along the line drawn on the door frame.
- Use a chisel and hammer and gently tap away the wood below the line to create a gap that your flooring will fit under.
- Slide your underlay and plank underneath to check if they fit below the gap.
Doorways
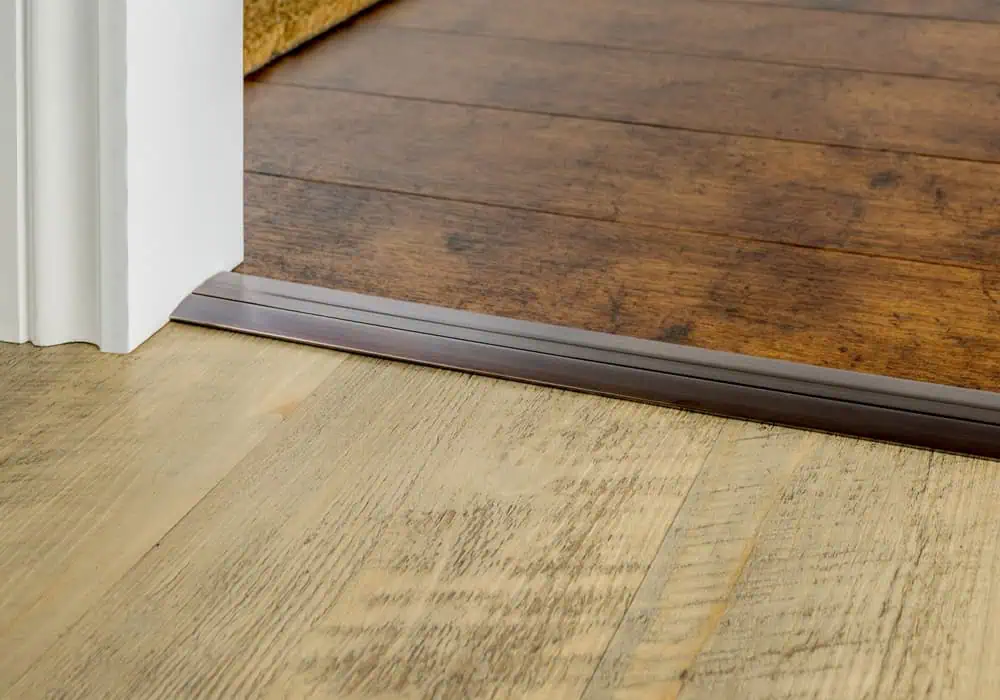
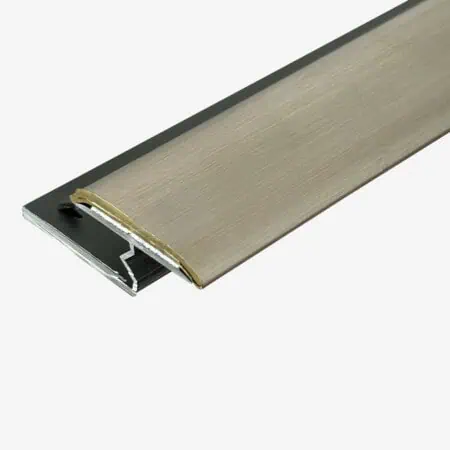
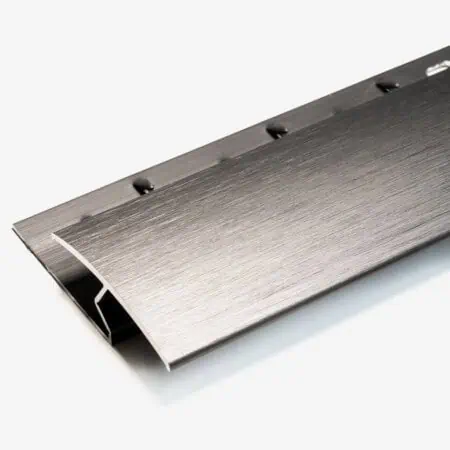
When adding a threshold strip, choose one that suits your flooring transition, whether it’s laminate to carpet, laminate to hard flooring, or laminate to laminate.
Measure the doorway width and use a saw to trim the threshold bar to fit. Remember to factor in expansion gaps on each side.
Depending on your subfloor, use screws or adhesive to secure it.
Corners
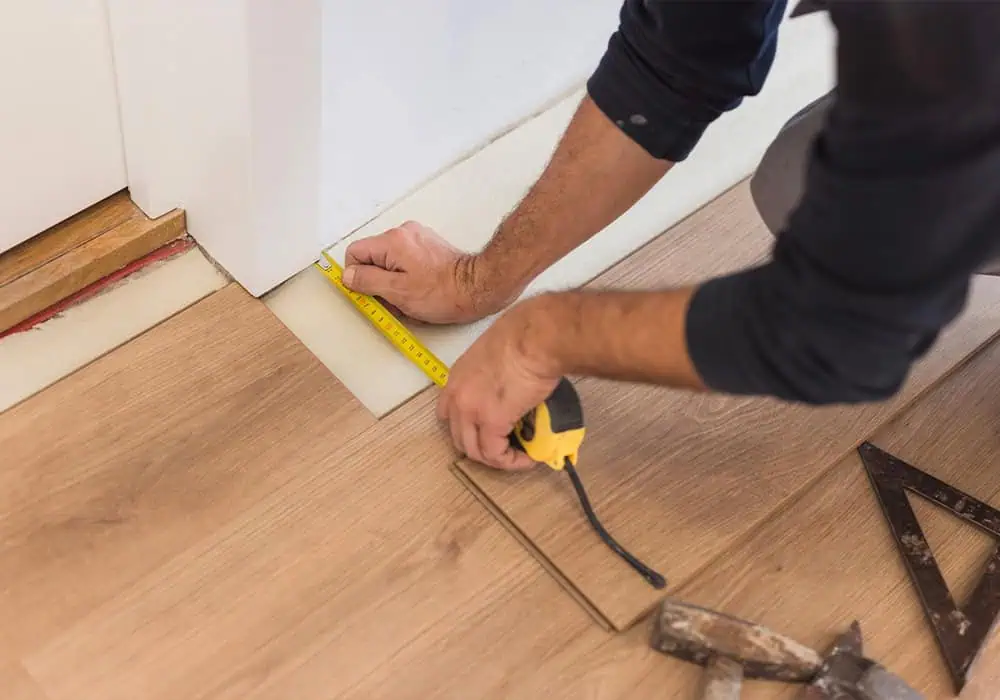
Corners aren’t as complicated as you might think.
- Place the plank against the corner, add your expansion gap, and mark it with a pencil. This will give you your width cut measurement.
- Then, position the plank along the wall and mark the length. Again, bear in mind your expansion gap at the corner.
- Use a set square to mark the area that needs to be removed.
- Clamp your board to your workbench and make your cut with a jigsaw.
- Slide the board into place, making sure it fits snugly.
Time to admire your new floor
With a bit of patience and concentration, there’s no reason why you can’t fit your laminate floor like a pro.
Follow this guide carefully, and you’ll be kitting out the whole house before you know it.

