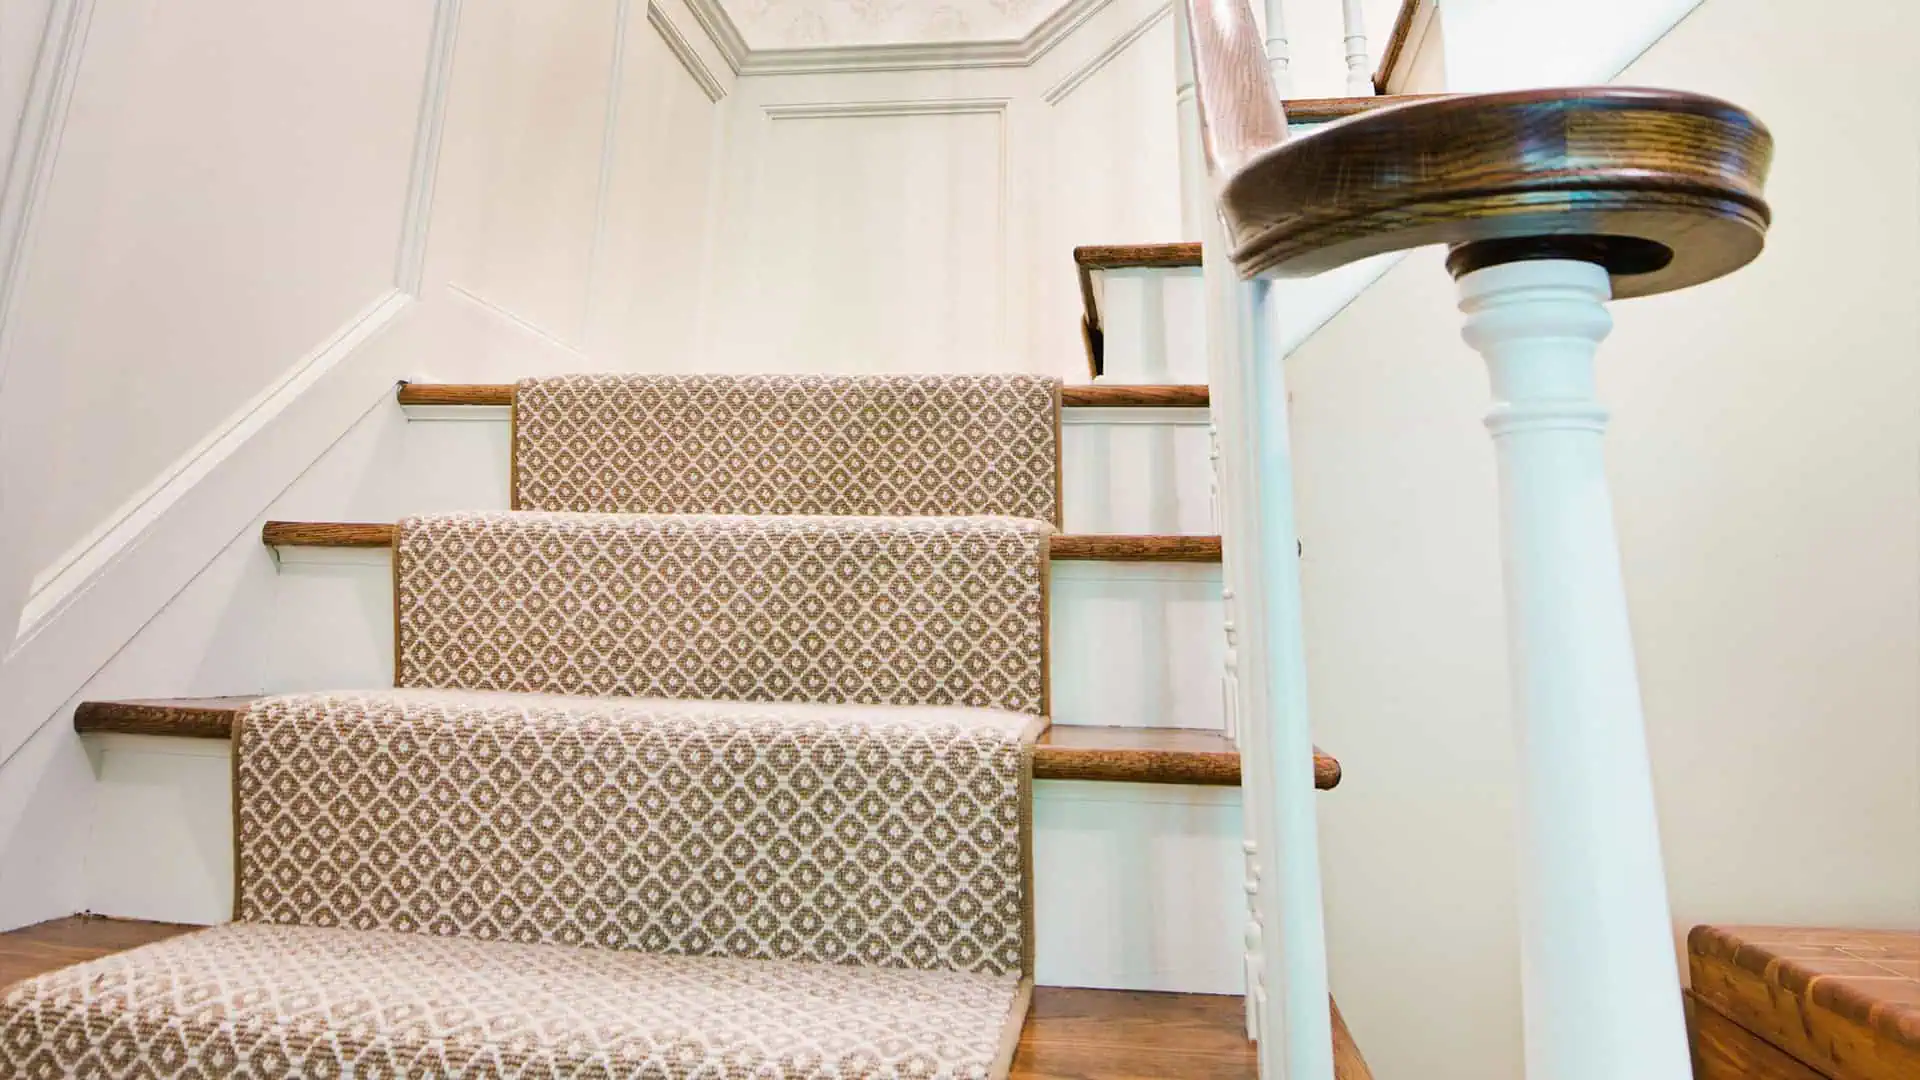
Installing a carpet runner instantly adds style and a wow factor to any staircase, and it’s easier than you might think when you follow this simple step-by-step guide.
From attaching gripper rods to centralising your runner, we’ll share our trade tips and walk you through how to fit a stair runner like a pro in 8 simple steps.
In this guide
Tools you may need
Here are the tools and materials you may need to fit a stair runner:
- Knee pads
- Carpet runner
- Underlay
- Underlay tape/adhesive
- Stapler
- Safety gloves
- Gripper rods
- Stanley knife
- Carpet bolster/tucker
- Measuring tape
- Hammer
- Nails
How to fit a carpet stair runner
Step 1: Get your staircase ready
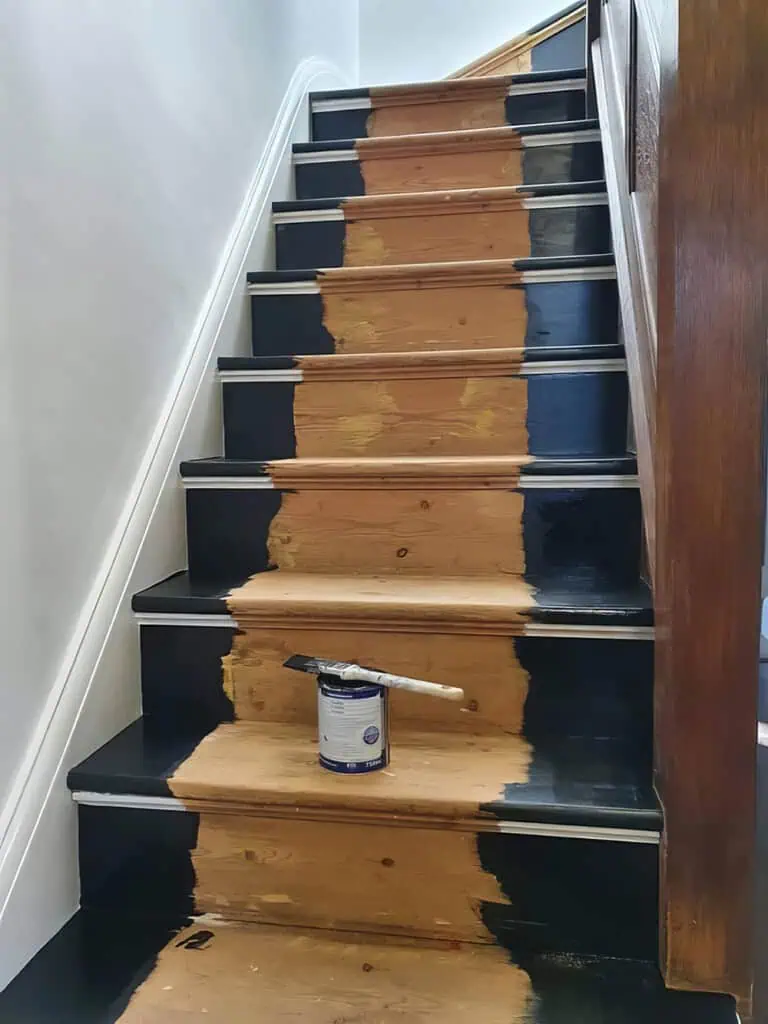
Remove old carpet or flooring and check each step for loose or rotting boards, nails sticking out, and cracks in the wood.
Make any necessary repairs – like hammering in nails, replacing old boards, filling cracks with wood filler, and sanding any rough edges or uneven areas – before you go any further.
Vacuum any dust or debris, then wipe your stairs thoroughly for a clean work surface.
PRO TIP: Remember, either side of the runner will be on show, so now’s the time to paint or stain your stairs for an even more professional finish—and give it time to dry fully.
Step 2: Measure up
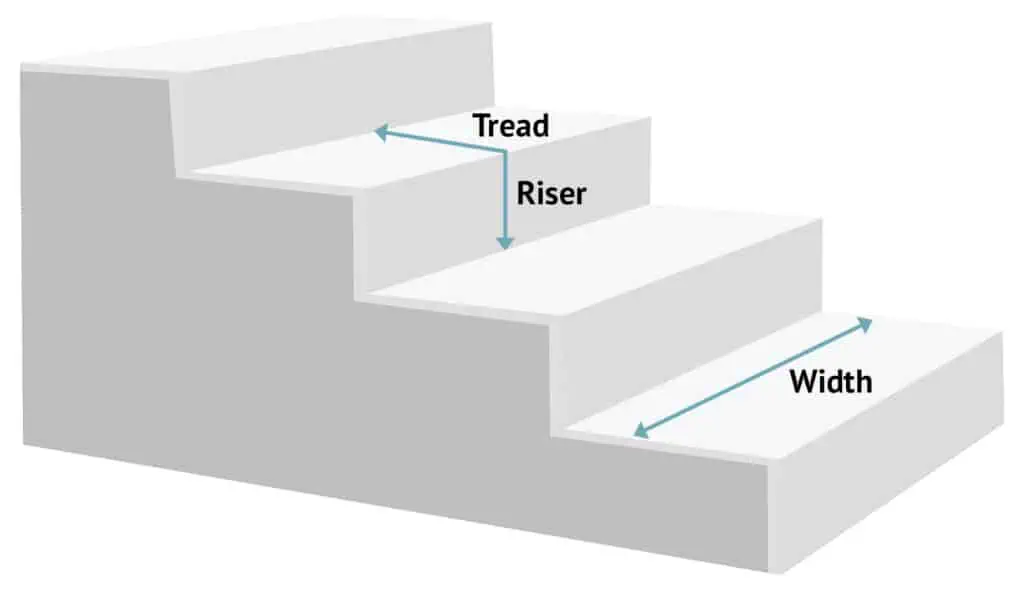
The width of your stair runner is up to personal preference, but standard sizes range from 50-60 cm. The runner will need to sit centrally with an even gap on each side, so it’s worth measuring the width of your stairs before you buy.
Working out the length of your stair runner:
- Measure the depth of the treads (the flat part of the step).
- Measure the height of the risers (the vertical part of the step).
- Add these figures together and multiply by the number of stairs
- Add on 10% to allow for wastage
Example:
- Tread depth: 25cm
- Riser height: 18cm
- Number of steps: 13
25cm (tread) + 18cm (riser) = 43cm x 13 steps = 559cm + 10% wastage = 614.9cm
Rounded up to 615cm, your stair runner would need to be 6.15 metres long.
GOOD TO KNOW: Don’t forget to add nosing measurements into this calculation if you have steps with an overhang.
Step 3: Mark up
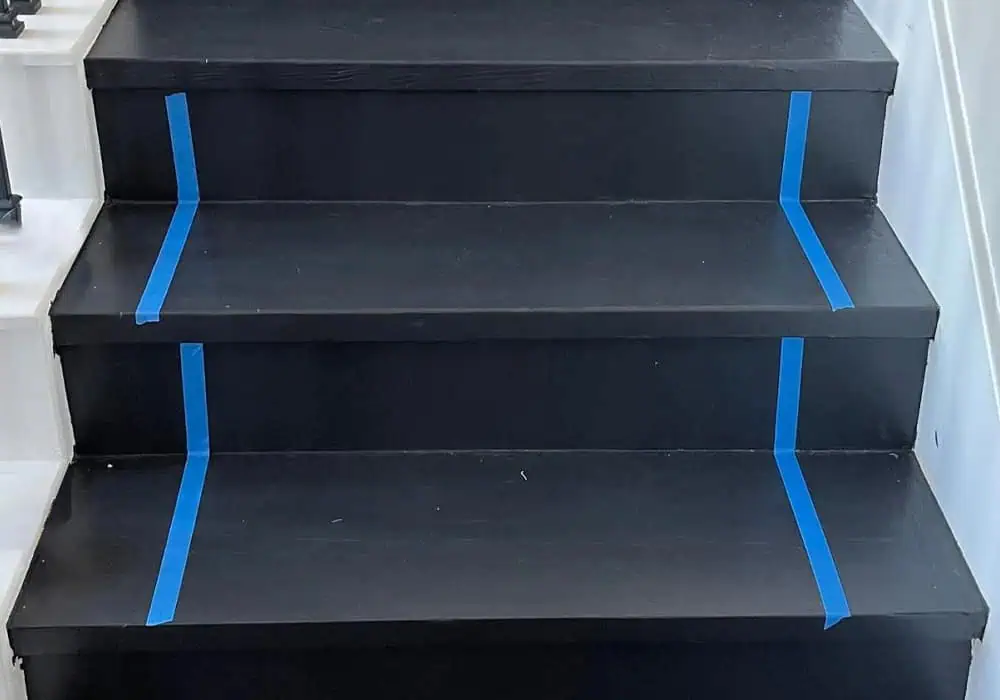
Subtract the width of your runner from the width of your stairs and divide by two to work out the size of your gap on either side.
Example:
- Stair width: 80cm
- Runner width: 50cm
80cm – 50cm = 30cm / 2 = 15cm gap on each side
Use these measurements to determine the central point of the step, and mark each side of the runner with painter’s tape.
Step 4: Cut and fix gripper rods
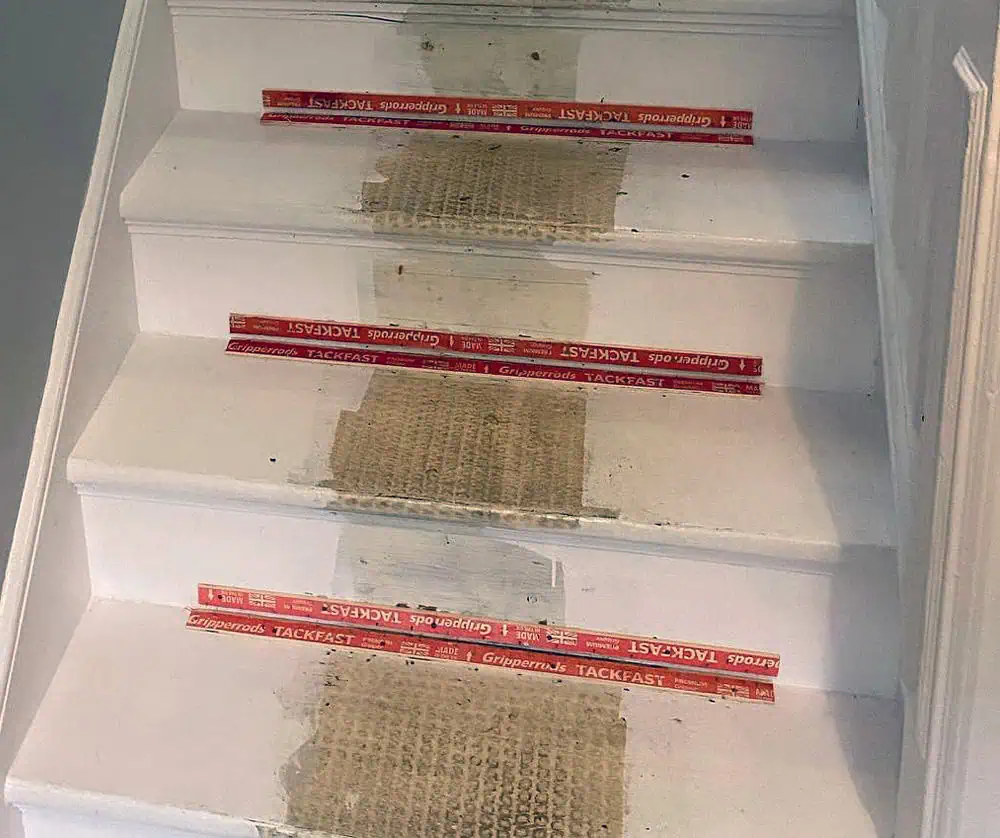
Gripper rods will hold your runner in place and stop it from shifting over time. You’ll need two for each step, and each one needs to be cut 10 cm shorter than the width of your runner to avoid the rods poking out of the sides.
Example: If your runner is 50cm wide, cut your rod to 40cm
Installing the gripper rods
- Position a rod at the back of each tread, roughly 7mm from the riser.
- Place another rod on each riser, about 7mm up from the tread.
- The pins on each rod should angle towards each other. The carpet will be tucked into the gap, and the pins will hold it securely in place.
- Using your markings as a guide, fix your rods in place by either hammering in the pre-attached nails or sticking them to the stairs using a high-quality adhesive, such as GripFill.
Step 5: Cut and lay your underlay
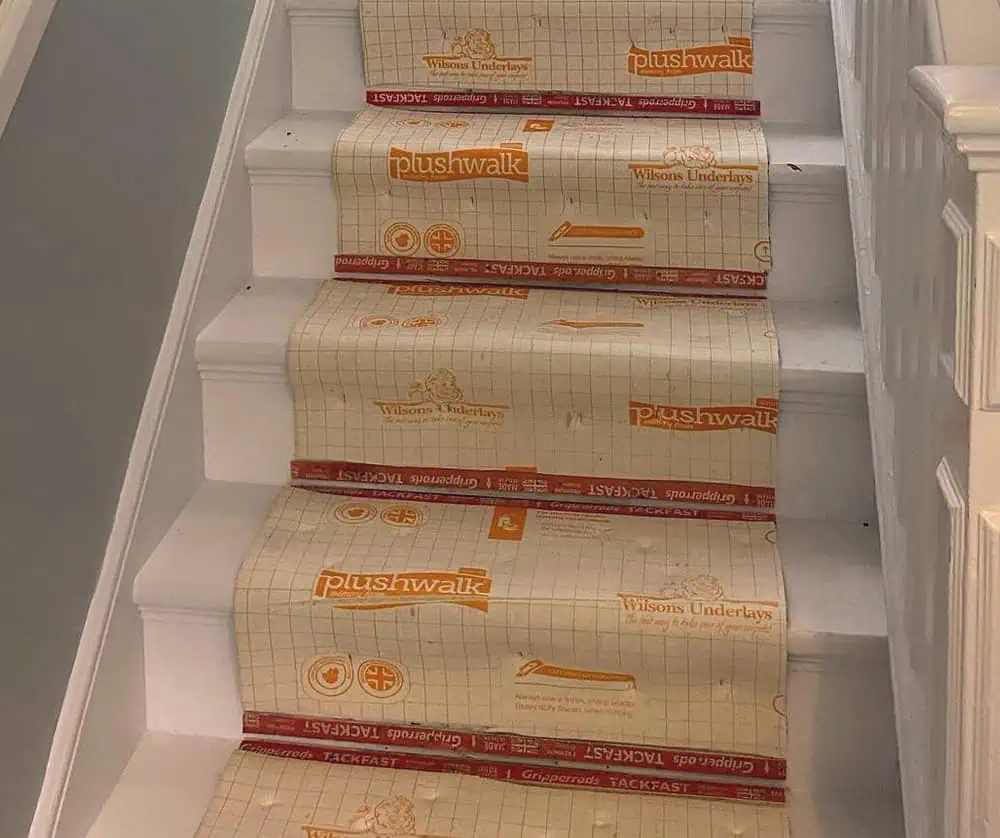
We recommend laying a quality carpet underlay before installing your stair runner to dampen the sound of noisy footsteps, add comfort underfoot and protect your runner from premature wear.
To make installation easier, cut individual pieces of underlay for each step, ensuring each piece is as wide as your gripper rods. Some prefer to add underlay only to the tread, but for optimal runner protection, we advise covering the riser as well.
Mark out the distance between the tread and riser grippers, and then cut – making a template will make this a much quicker job.
Align the edge of your first piece along the gripper (don’t overlap it) on the top tread and staple it into place. Then, smooth it over the tread and down the riser and attach it above the gripper at the base of the riser.
Repeat this process until you get to the bottom, then get ready to fit your runner.
PRO TIP: For maximum sticking power, use a spray adhesive or tape to minimise the risk of your underlay shifting over time.
Step 6: Attach your runner to the top step
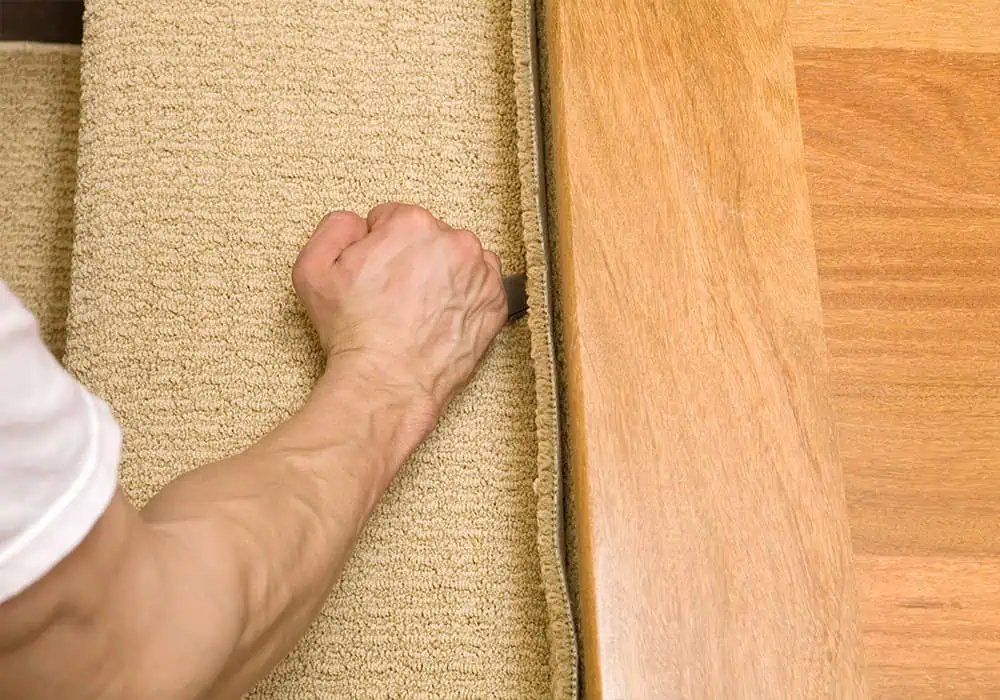
Starting at the top of the staircase, roll out your runner and tuck the end under the nose of the top step.
PRO TIP: If you’re a complete novice, it helps to use double-sided adhesive tape on the top step to hold the runner temporarily in place before you start stapling.
Secure the top edge of the runner underneath the nose (or the top of the riser) with a staple gun, stapling approximately every 5 cm from the middle out to the edges.
Pull the runner tightly over the first tread, using your carpet bolster to smooth it into place against the riser and the gripper rods.
Next, use a carpet tucker to push the runner into the join where the riser meets the tread, creating a flush edge, then staple every 5cm across the base of the riser to secure the carpet.
Repeat this process for every step.
GOOD TO KNOW: If your stairs have bullnoses (an overhanging lip), stapling your runner directly underneath the nosing of each step offers a clean, professional look.
Step 7: Attach to the other steps
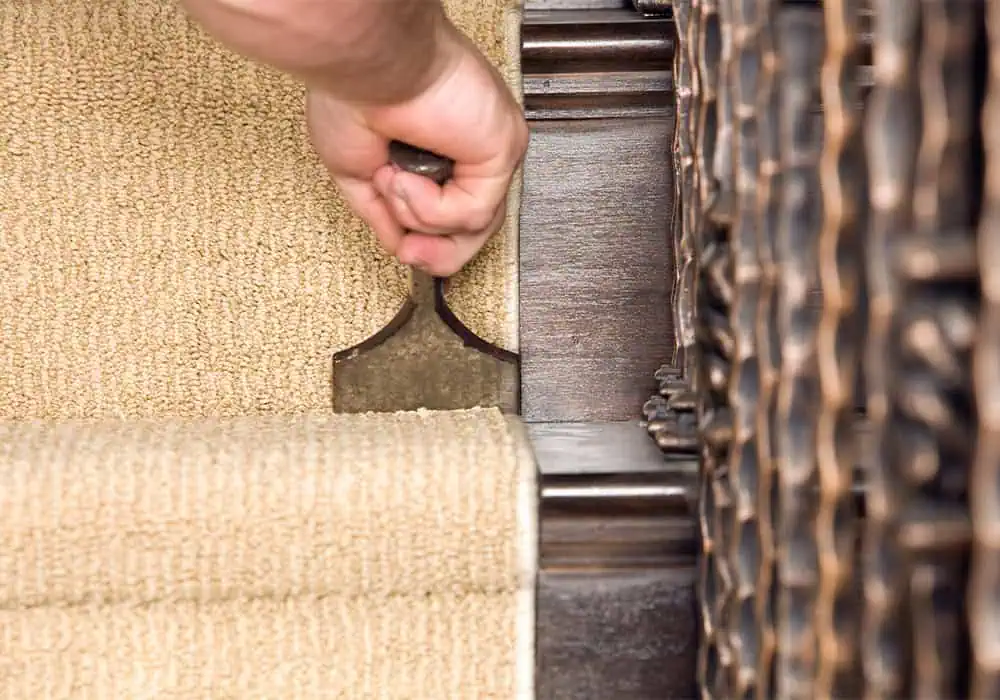
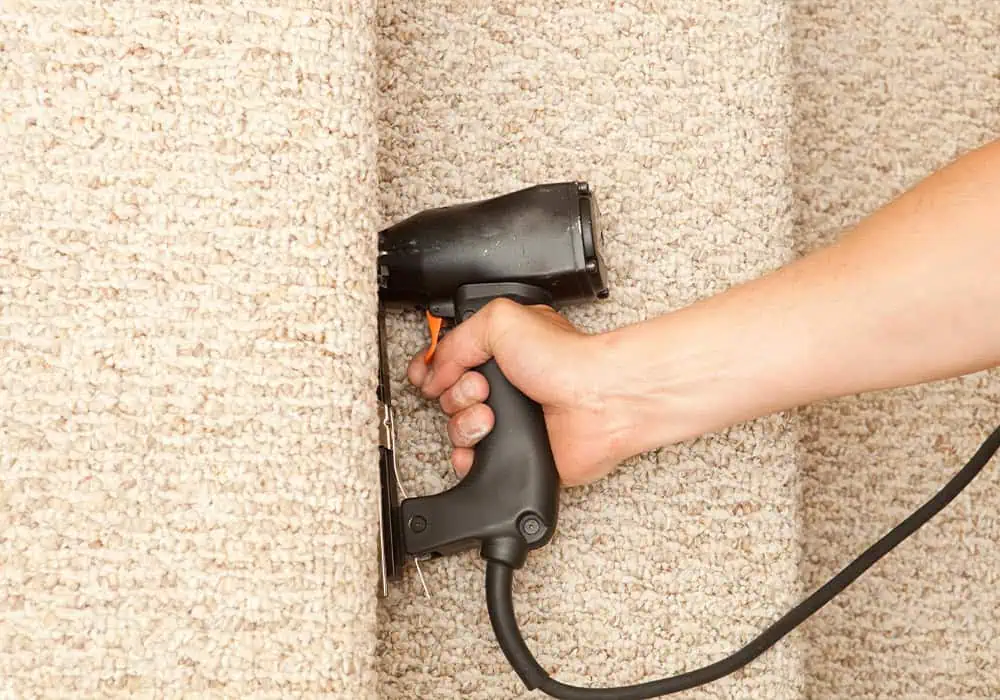
Once the runner is secured to the first step, move on to the next.
PRO TIP: If in doubt, before stapling, unroll the runner down three or four treads to check your alignment.
Pull the runner tightly over the tread, then use your carpet bolster to smooth it into place against the riser and the gripper rods.
Use your carpet tucker to push the runner into the join where the riser meets the tread, creating a flush edge. Then, staple every 5cm across the base of the riser. Continue stapling the runner approximately every 5cm along the edge of both the tread and the riser.
Repeat this process until you get to the last step.
For a professional look, your runner must finish neatly at the bottom of the last riser. To achieve this, cut the end of the runner with around 5cm excess. Fold the end back on itself to create a neat, straight edge, then secure it to the bottom of the riser, firing the staples through both layers.
Now is a good time to walk up and down the stairs to check for any movement.
Step 8: Install stair rods (optional)
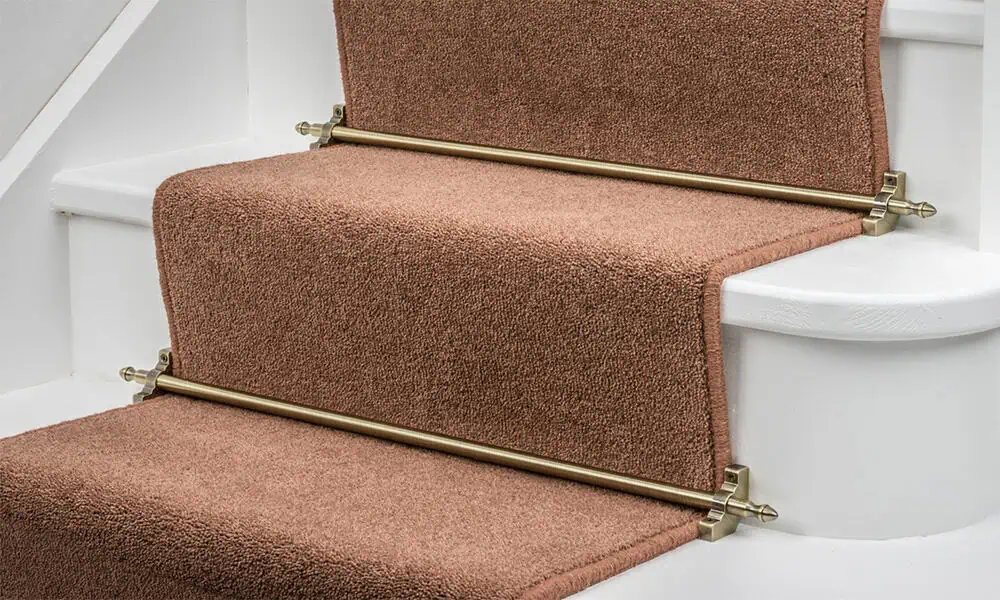
Stair rods add a striking finishing touch to a runner and help keep the carpet in place, reducing the risk of trips and falls.
Here’s how to fit them:
- Place a bracket against each edge of the runner at the intersection of the tread and riser.
- Mark the locations of the screw holes and then drill pilot holes.
- Screw one bracket to the stair tread and riser.
- Measure and cut the rods to the required length, if required.
- Insert the pole into the fixed bracket and line it up with the crease where the tread and riser meet.
- Attach the other bracket to the stair tread and riser.
Admire your handiwork
By following these steps, you can fit a stair runner like a pro, knowing it’s safe, secure and looks the part.
If you need help picking the right accessories and underlay for your stair runner, get in touch with our team at contact@simplyunderlay.co.uk and we will give you our expert advice.

