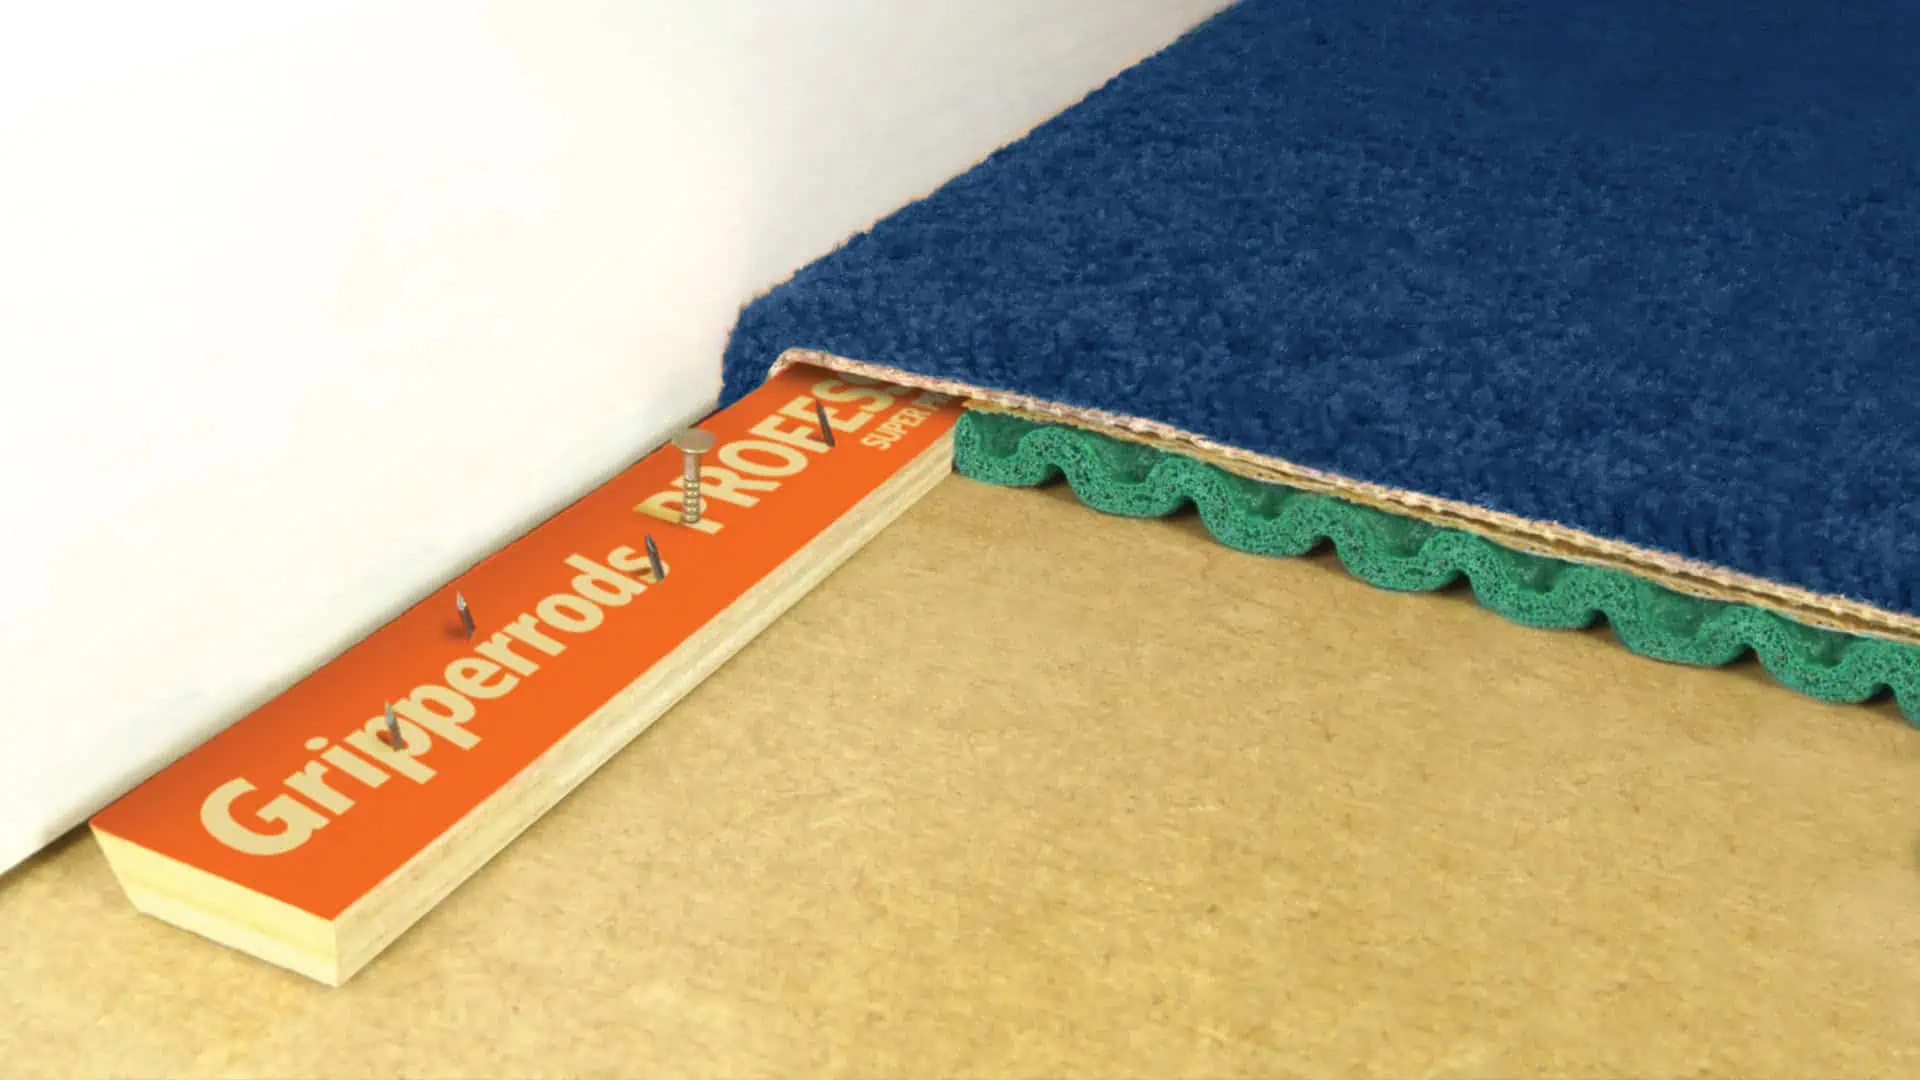
Fitting carpet gripper sounds like a job for professionals, but it’s not as hard as you might think.
Whether you’re refreshing a room or tackling a staircase, this guide will walk you through the carpet gripper installation process, offering expert advice and top tips on achieving a neat, secure finish – even if you’re a DIY novice.
In this guide
Tools you may need
The right tools not only make the job easier but will also help prevent damage to your subfloor and ensure a better finish. Here’s what you might need:
- Knee pads
- Safety gloves
- Prybar
- Pliers
- Gripper rods
- Multipurpose snips/shears or a hacksaw
- Measuring tape
- Hammer
- Pencil
- Gripfill or similar adhesive
- Drill with a masonry drill bit
- Wooden dowel rods
What is carpet gripper?
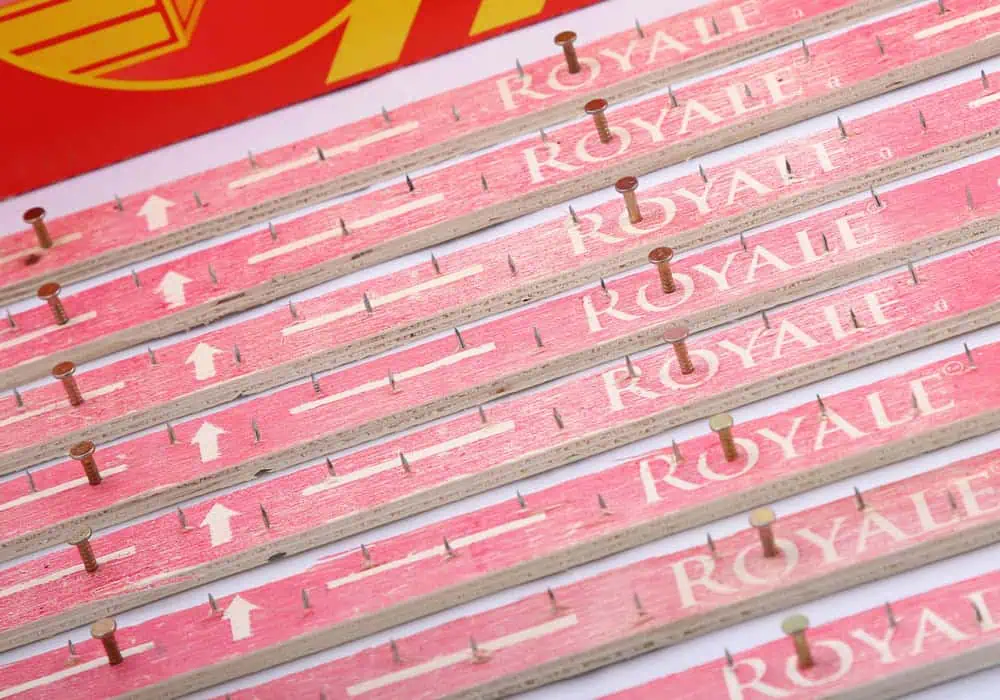
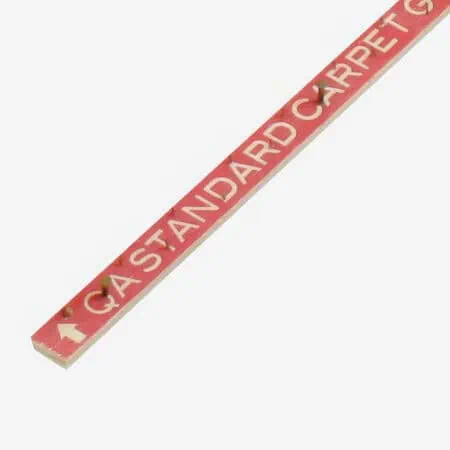
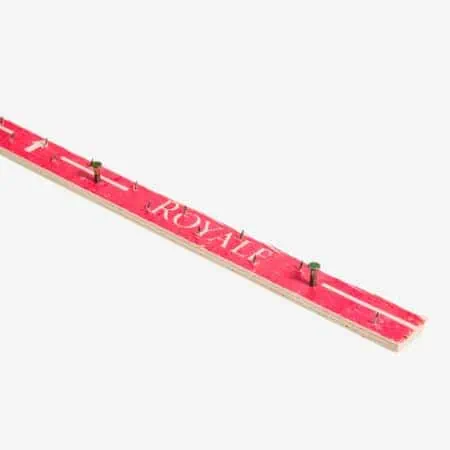
A carpet gripper (AKA carpet gripper rod or tack strip) is a narrow strip of wood with sharp, angled pins designed to hold a carpet in place. They are available in a variety of pack sizes and tend to come in 1.5 m or 76 cm lengths.
Here’s why gripper rods are an essential step in the carpet-fitting process:
- Stop the carpet moving or slipping
- Ensure a tight, wrinkle-free carpet finish
- Prolong the carpet’s lifespan by reducing wear and tear from shifting
- Make the carpet installation process quicker and easier
Choosing the right carpet gripper
The type of carpet gripper you need depends on your subfloor. Here are your options:
GOOD TO KNOW: If you have underfloor wires or pipes or struggle to secure your gripper with nails, you can glue it down with a quality adhesive.
Grippers for wood subfloors
When fitting carpet on a timber subfloor, you need wood grippers. These come in pre-nailed lengths that are designed for wood subfloors and can be secured easily onto floorboards.
Grippers for concrete subfloors
If you’ve got a concrete subfloor, you’ll need grippers designed for concrete, as they’re pre-nailed with reinforced nails to allow you to penetrate the tougher surface.
Dual-purpose gripper to make life easier
If you’re looking for a more versatile option, go for dual-purpose carpet gripper. It works on wood and concrete, which is handy if your home has a mix of subfloor types.
Carpet gripper preparation
Pull up old gripper
Before you start, remove any existing gripper rods. Old gripper can become worn or rusty – which can compromise their strength and stability – so we always advise replacing them with fresh strips.
Slide your prybar under the gripper and gently lift it away from the floor. If it’s nailed down, be careful not to damage the subfloor.
Remove nails
Once the old gripper is up, using pliers, get rid of any old or loose nails left behind in the subfloor. This will give you a smooth surface for the new gripper.
Fix your subfloor
If your subfloor needs fixing or levelling, make sure this is complete before you go any further.
Clean the area
Vacuum the area to remove any leftover debris and dust before fitting new carpet gripper.
Fitting carpet gripper in a standard room
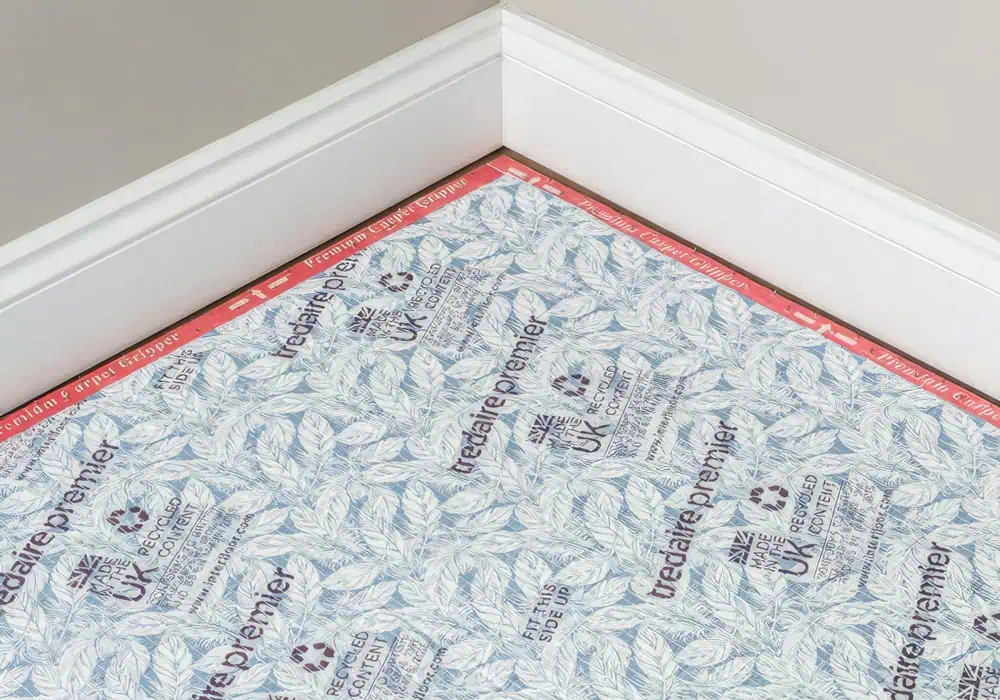
Now you’ve chosen the right gripper and prepared the area, it’s time to fit it. Here’s how to lay gripper in a traditional room.
Measure the perimeter
Use a tape measure to measure the length of each wall, then add the measurements together to work out the total length of gripper you’ll need.
Example calculation
If your room is 4 metres by 3 metres, you’ll need 14 metres of gripper.
4 m + 4 m + 3 m + 3 m = 14 m
Position the gripper
Get your gloves on and place the rods around the edges of the room, leaving a gap of around 7-8mm between the gripper and the skirting board. The pins should face the wall.
This is where the carpet will tuck neatly into later.
Expert tip: Use a block of wood 7-8mm wide to maintain a consistent gap between the gripper and skirting.
Cut to size
Some areas of the room require precise and angled cuts to enable you to place your gripper where you need it. Here’s some challenges you might come up against and how to handle them:
- When you reach a corner, you may need to bevel the ends of the rods (cut them at an angle) with your gripper shears or a hacksaw for a neat fit around the corner. Make sure the rods meet closely at the corner but avoid any overlap.
- Carpet gripper comes in straight lengths and doesn’t bend, so with curved features like bay windows, things can get a bit fiddly. The only option here is to cut your strips into small pieces and follow the curve of the wall.
- Fitting gripper rods around complex shapes, like radiators legs or pipes, requires careful measurement and cutting to guarantee a secure and neat carpet installation. For example, if you’re working around radiator pipes, cut two small sections of gripper to fit on either side of the pipe.
Secure the gripper
On wood subfloors
If you’re working on a wooden subfloor, make sure you’re using a wood or dual-purpose carpet gripper, and use a hammer to tap the nails into place until the gripper is securely fastened.
The pre-installed nails make this method quick and easy.
On concrete subfloors
Option 1: stick down
With concrete floors, it’s often easier to dodge the drill and use an adhesive like Gripfill instead.
Simply apply the glue to the back of the gripper and press it down firmly to the subfloor.
EXPERT ADVICE: The glue-down method is a great option for tricky areas where nails are a bad idea, such as near pipes or cables.
Option 2: nail down
As with a wooden subfloor, if you’ve chosen the right carpet gripper (in this case, concrete or dual-purpose) then you can simply knock the preinstalled nails straight into the subfloor using your hammer.
This works particularly well in new-build homes where the concrete/screed is slightly softer than what you typically find in period homes.
Option 3: belt and braces
WORTH NOTING: Check the pre-attached nails are long enough to penetrate both the gripper rod and the dowel.
If you want to secure the gripper to your concrete floor with nails, but find the surface to be too hard to penetrate, you can use the wooden dowel and nail method. It’s a lot more involved and time-consuming, but it will guarantee a good fix:
- Use a pencil to mark where the preinstalled nails contact the concrete floor. These marks are where you need to drill holes for the wooden dowels.
- Use a masonry bit to drill the holes into the concrete, making sure the diameter matches the dowels.
- Drill to a depth that allows the dowels to be flush with the concrete surface, typically about 2.5 – 4 cm deep.
- Vacuum out the holes to remove dust and debris.
- If required, cut the dowels to the right length, matching the depth of the drilled holes.
- Insert the dowels into the drilled holes, tapping them gently into place with a hammer. They should fit snugly in the hole with no movement
- Align the pre-nailed gripper rods over the dowels so that the nails are directly above the dowel inserts.
- Hammer the nails through the gripper rod and into the dowels. The dowels act as a rawlplug, anchoring the gripper rod firmly to the concrete.
Fitting carpet gripper on stairs
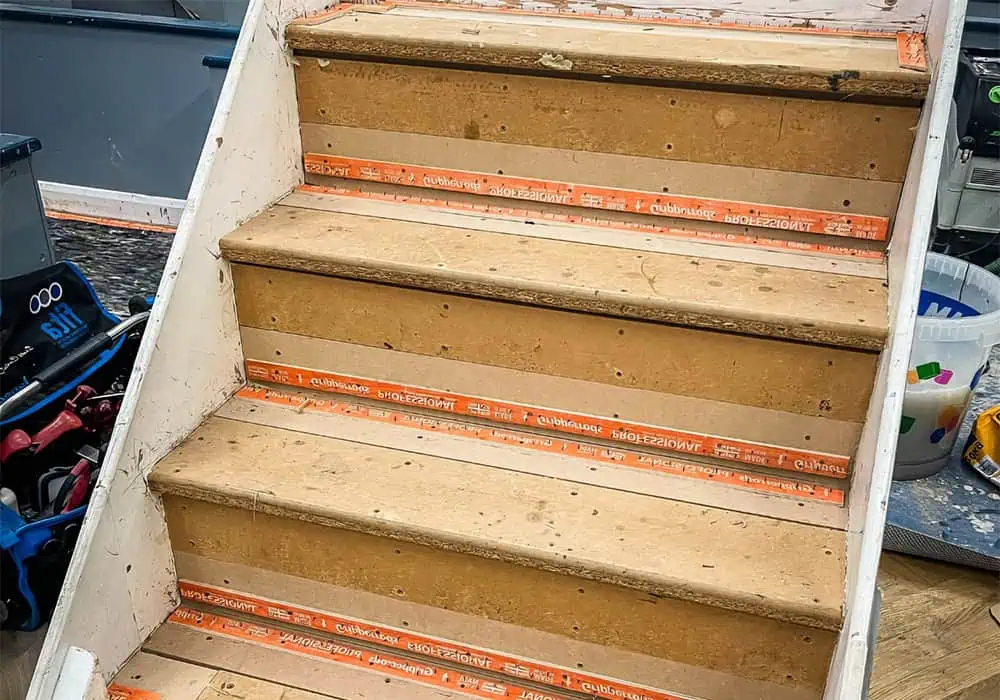
Attaching carpet gripper to stairs is a bit fiddlier, but follow this guide and you’ll have them covered in no time.
Measure and cut the gripper
Each stair has a tread (the horizontal part you step on) and a riser (the vertical part between each tread). You’ll need two gripper rods for each step – one for the tread and one for the riser.
To calculate the amount of gripper you’ll need, measure the width of each tread and cut your strip 1 cm shorter than the tread measurement to allow 5 mm of tuck space on each side for the carpet.
Measuring example
If the tread width is 80 cm and you need to leave a 5 mm gap on either side, the gripper rod should measure 79 cm.
Repeat this process for your riser gripper measurement.
Tread and riser placement
Tread gripper: This rod should be positioned along the back edge of the tread, 7-8mm from the riser. The pins on the gripper rod should face towards the riser.
Riser gripper: This rod should be placed at the bottom of the riser, about 7-8mm above the next tread. The pins should face downward towards the next step.
These placements ensure that both the top and bottom of the step have a secure hold on the carpet when stretched over it.
Secure the gripper
Stairs are typically constructed from wood, so you have two options when it comes to securing your gripper rods:
- Nail them straight into the wood using the integrated nails.
- Use a quality adhesive like Gripfill
Fitting gripper on curved stairs
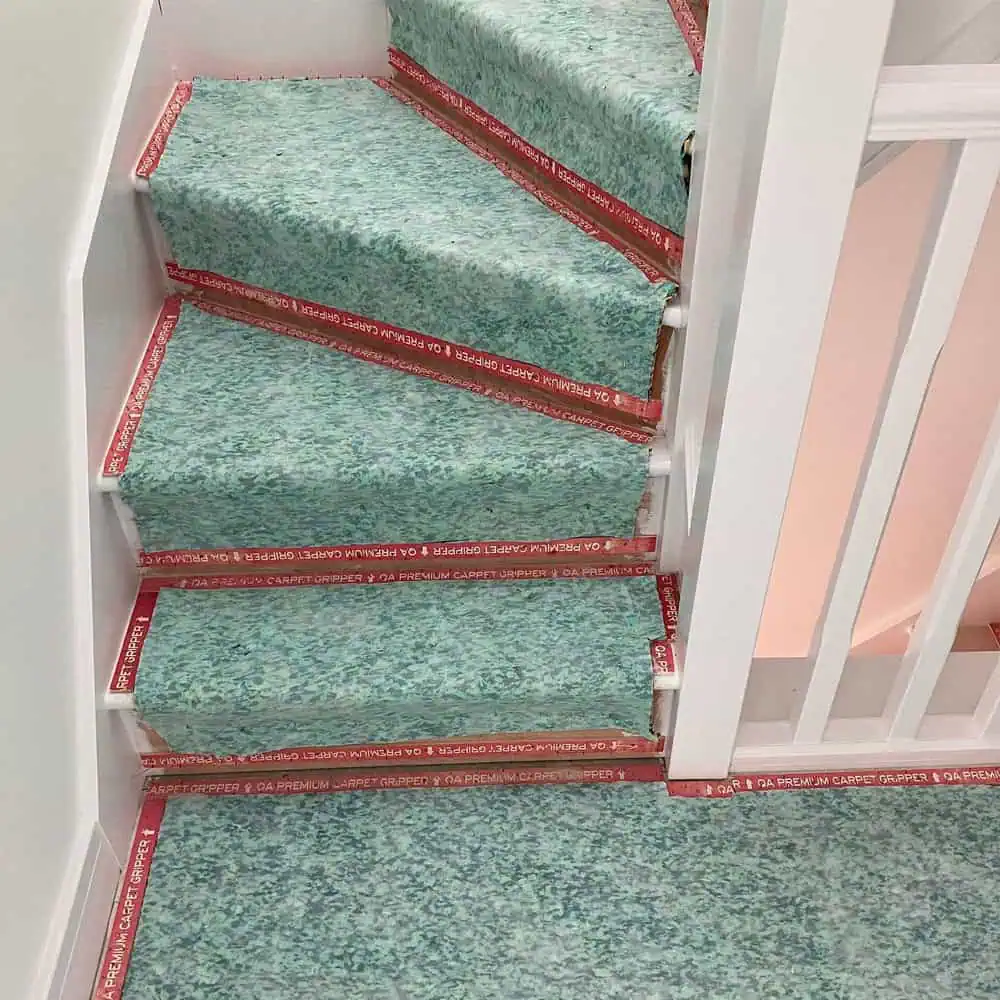
Curved stairs often have wider treads on one side (the outer edge) and narrower treads on the inner side. The goal is to position the gripper rods so that they follow the curve of the stairs while providing enough grip for the carpet.
Here’s how:
- Measure the width of the treads and risers at the widest (outer) and narrowest (inner) points.
- To accommodate the curve, cut the gripper rods into smaller segments. Each segment will need to be angled slightly to follow the curve of the stair.
- Depending on the curvature, cut the gripper rods slightly shorter than the width of the step at various points, leaving a gap of around 7-8mm from the wall or edge.
Real-world example
If the tread width is 60 cm at the narrowest point and 80 cm at the widest, cut the gripper rod into three segments (e.g., 25cm, 20cm and 15cm) to fit along the curve.
- Start at the narrow end of the tread (inner curve) and position the first segment of the gripper rod, then place the remaining segments along the tread, following the curve and maintaining a consistent gap from the riser.
- Position the gripper rod on the riser, again breaking it into segments if necessary to follow the curve.
- Attach the rods using the integrated nails or a quality adhesive.
Top tips when working with carpet gripper
- Gripper rods are sharp! Get your gloves on and wear knee pads to protect yourself during installation.
- If you’re fitting carpet in multiple rooms, work out where the gripper is going before you start.
- When fitting gripper on stairs, make sure the pins are angled correctly (toward the riser on the tread and downward on the riser).
- When fitting gripper on curved stairs, check that there are no gaps between the rod segments, as this could cause the carpet to slip.
- After fitting, check the gripper rods are well-secured and in the right position before moving onto laying the underlay and carpet.
Safe and secure
Now you’ve got the trade tips and secrets to help you lay carpet gripper like a pro.
Take your time, follow this guide carefully, and get ready to tick another DIY project off your list.

