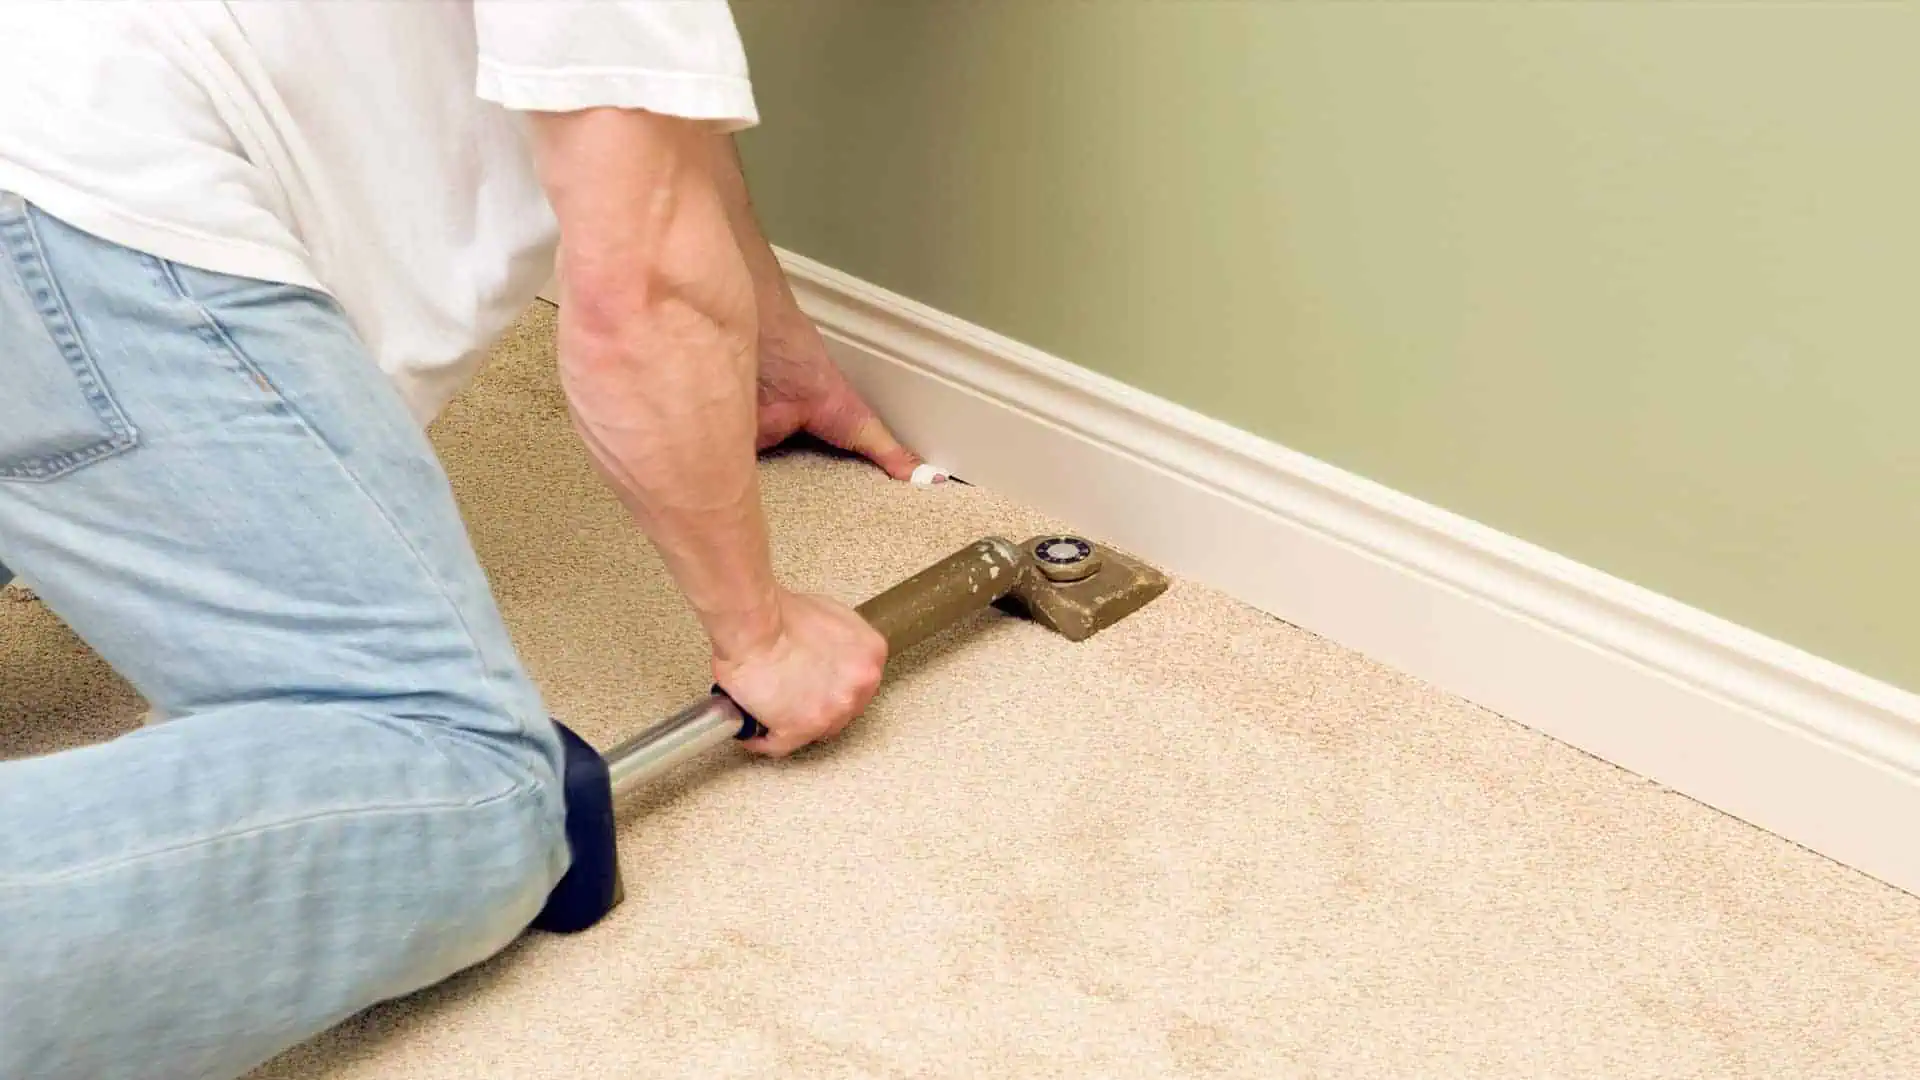
Fitting a carpet yourself might feel like a fiddly task, but with the right guidance and tools, it can turn into a rewarding DIY project. Plus, you’ll save yourself a lot of money on fitting costs.
In this guide, we’ll share our expert tips and walk you through six simple steps to fit a carpet like a pro. Ready to learn the tricks of the trade?
In this guide
Tools you may need
Here are the tools and materials you’ll need to carpet a room in your home:
- Knee pads
- Underlay
- Spray adhesive
- Underlay tape
- Staple gun (for underlay)
- Safety gloves
- Gripper rods
- Door bars (AKA threshold strips)
- Hacksaw
- Stanley knife
- Carpet tucker
- Carpet stretcher (AKA knee kicker)
- Hammer
- Nails
- Rawl plugs
- Screws
Step 1: Prepare the room

Before you start, make sure the room is clean, empty and clear of your old flooring.
This is also the time to check for protruding nails, fix any loose or creaky floorboards and ensure the subfloor is level and dry.
Read more:
Step 2: Install the gripper rods
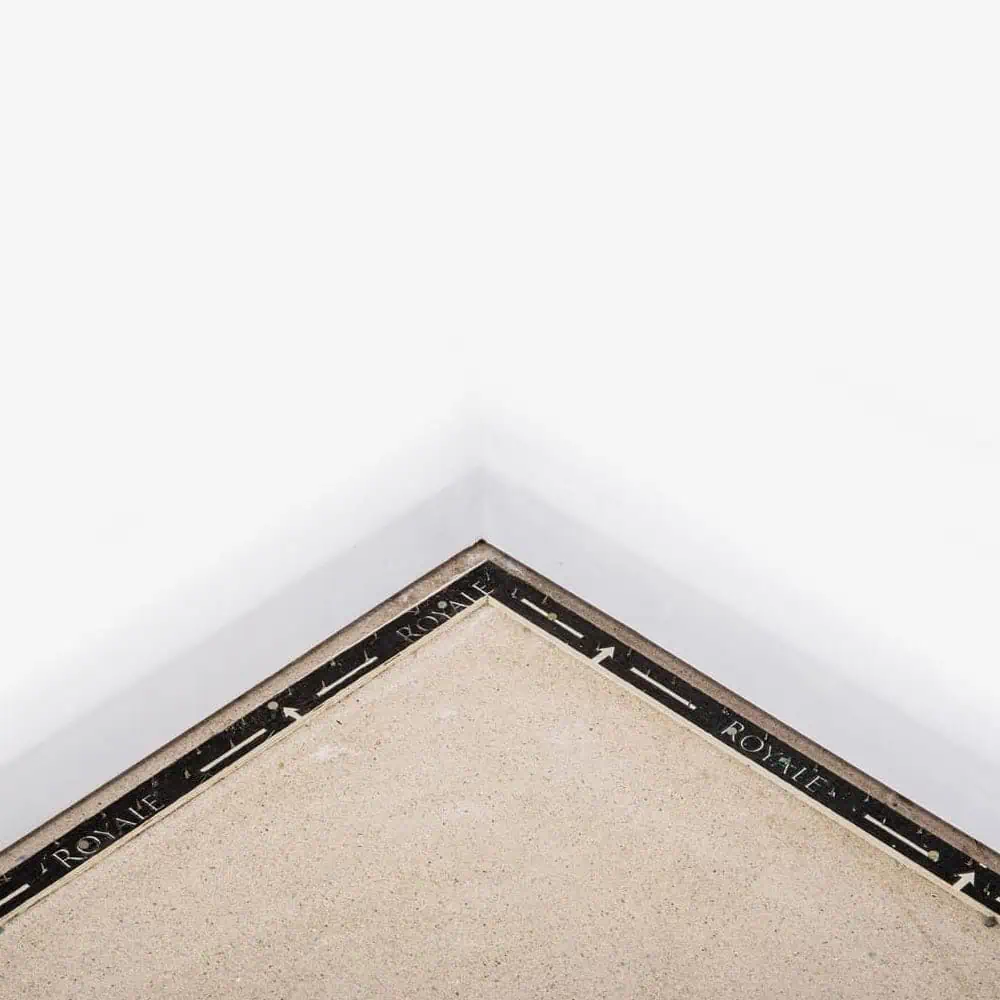
This guide will focus on the traditional carpet installation method, known as stretch fitting. In this method, your carpet is stretched onto gripper rods to keep it in place.
GOOD TO KNOW: Don’t attach gripper rods across doorways, as this is where you’ll install your door bars.
To install the carpet gripper, put on your gloves, cut the rods to size using a hacksaw or general-purpose snips and lay them around the room’s perimeter with the pins facing the walls. Leave a gap of about 7-8mm from the skirting board—this is where the carpet will be tucked into. As a general guide, you should be able to fit your fingertips between the gripper and the skirting board.
Carefully secure the grippers using the integrated nails or a specialist adhesive (depending on your subfloor).
Read more:
Step 3: Fit the door bars
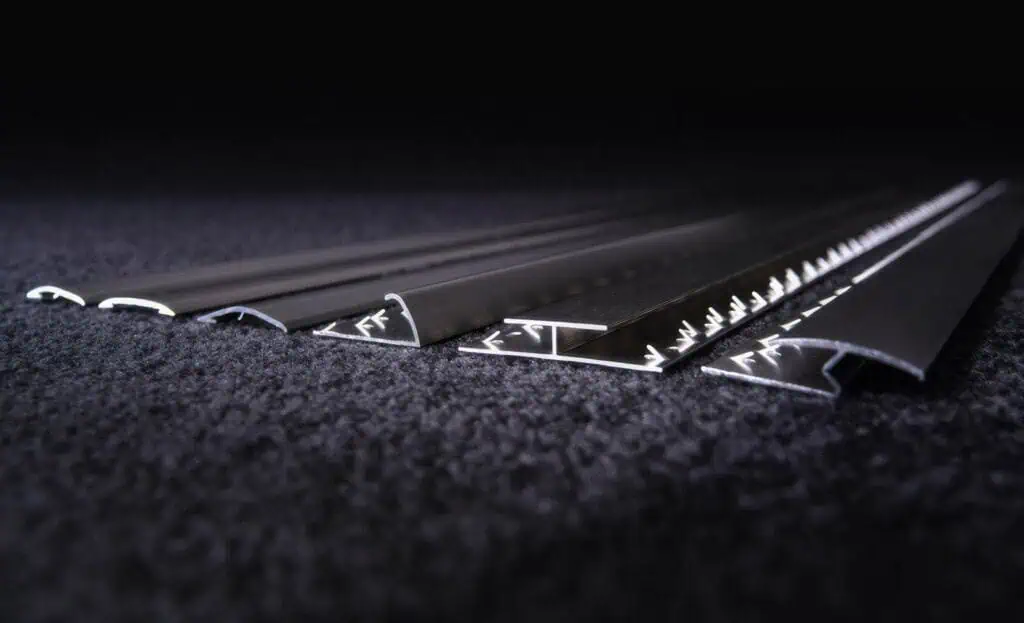
Now it’s time to install your door bar(s). Also known as threshold strips, they create a neat transition where carpet meets other flooring or finishes in entranceways while helping reduce trips, drafts, dust and noise.
REMEMBER: Always check for water pipes or electrical cables under your floor before drilling or screwing.
To install, measure the width of your doorway or entranceway and cut the threshold bar to size using a hacksaw. Then, position the threshold bar centrally under your door so it can’t be seen on either side when closed.
How you fit the door bar will depend on the type of threshold strip and subfloor. You can use nails (wood subfloor), screws (wood or concrete subfloor) or adhesive (wood or concrete subfloor) to secure the door bar.
If your subfloor is concrete, you’ll need to drill and plug the subfloor to create a secure fix. If your subfloor is wooden, drill pilot holes before screwing the door bar into place.
Note: if the threshold doesn’t have integrated holes, you’ll need to drill them into the door bar before fitting.
Step 4: Lay the underlay
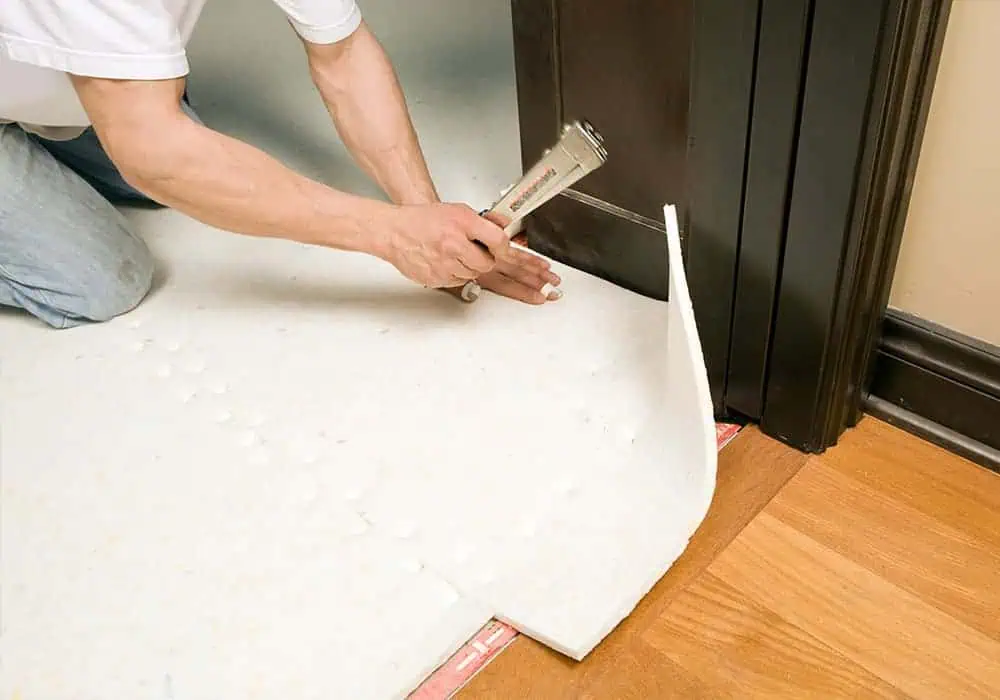
As we know, carpet underlay adds comfort, reduces noise, provides insulation and protects your flooring against wear and tear.
To install, roll out the underlay from one side of the room to the other, and cut it to fit just inside the gripper rods. Repeat this process until the whole room is covered, butting the rows up tightly to each other without overlapping. For any awkward shapes or recesses, simply cut a piece of underlay to size.
Seal any joins with underlay tape, and secure your underlay to the subfloor using a staple gun (wood subfloor) or spray adhesive (concrete subfloor), ensuring it lies flat and covers the entire room.
Read more:
Step 5: Fit the carpet
Position the carpet
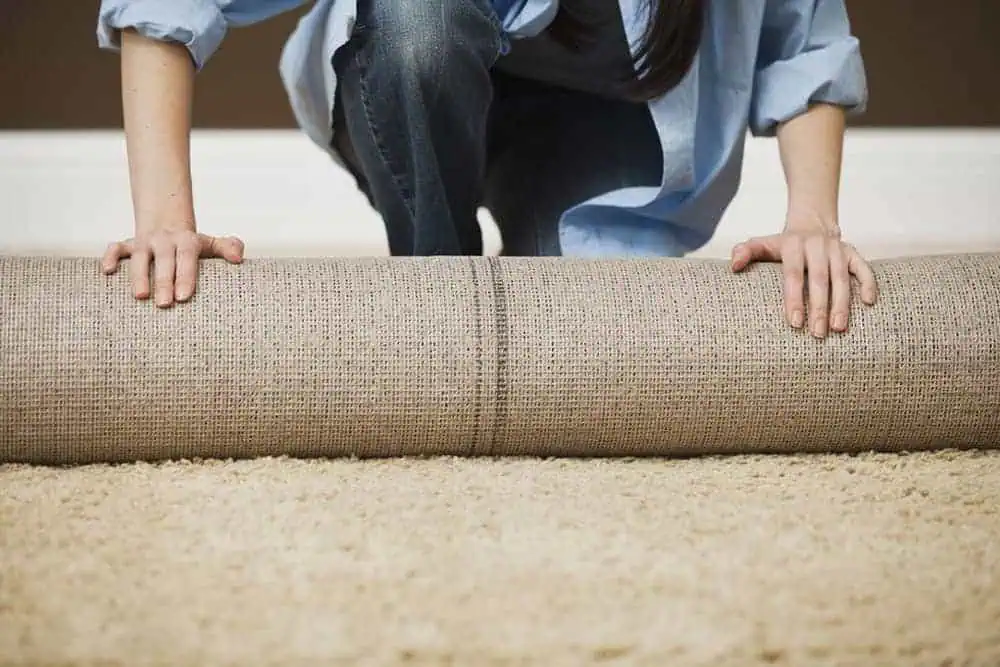
A roll of carpet is heavy, so you’ll likely need help moving it into the room you’re fitting it into.
Once it’s there, unroll it and manoeuvre loosely into position. Stand in the corner with one foot underneath the carpet and the other on top, then smooth it out and hotch it into place with your feet.
At this point, before starting any cuts, you should check (and double-check) that the carpet will fit the room. There should be a small amount of excess going up the skirting board/wall on all sides of the room.
Cut to size
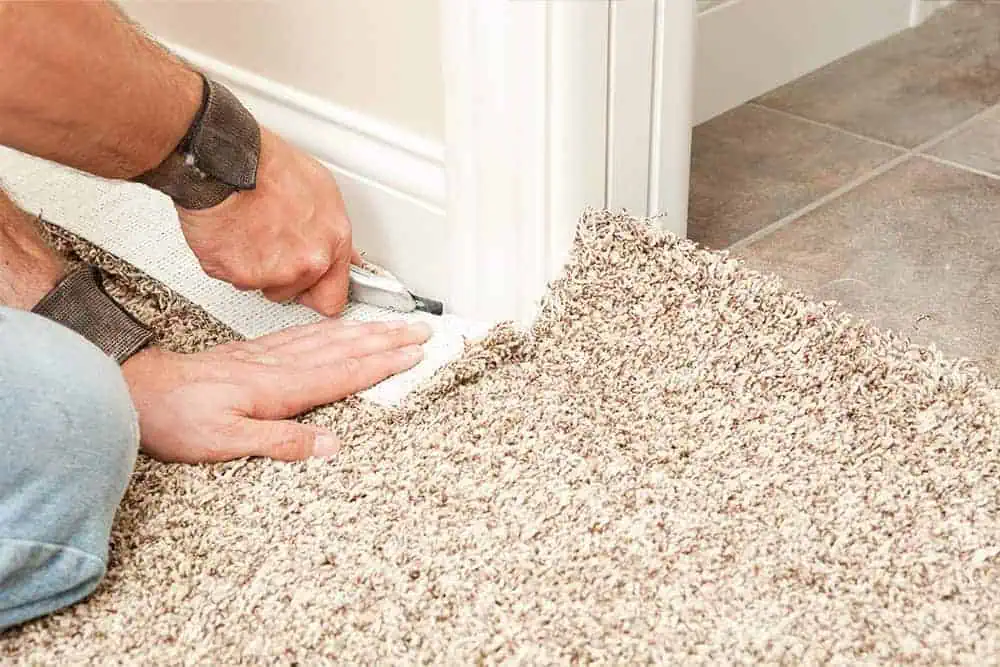
If necessary, use your Stanley knife to cut your carpet to size, leaving a surplus of 50mm (if possible) around the entire perimeter of the room.
Cut a vertical line in the excess directly above the corners, then trim the overlapping triangles so you can lay the carpet flat to the gripper.
Crease and trim
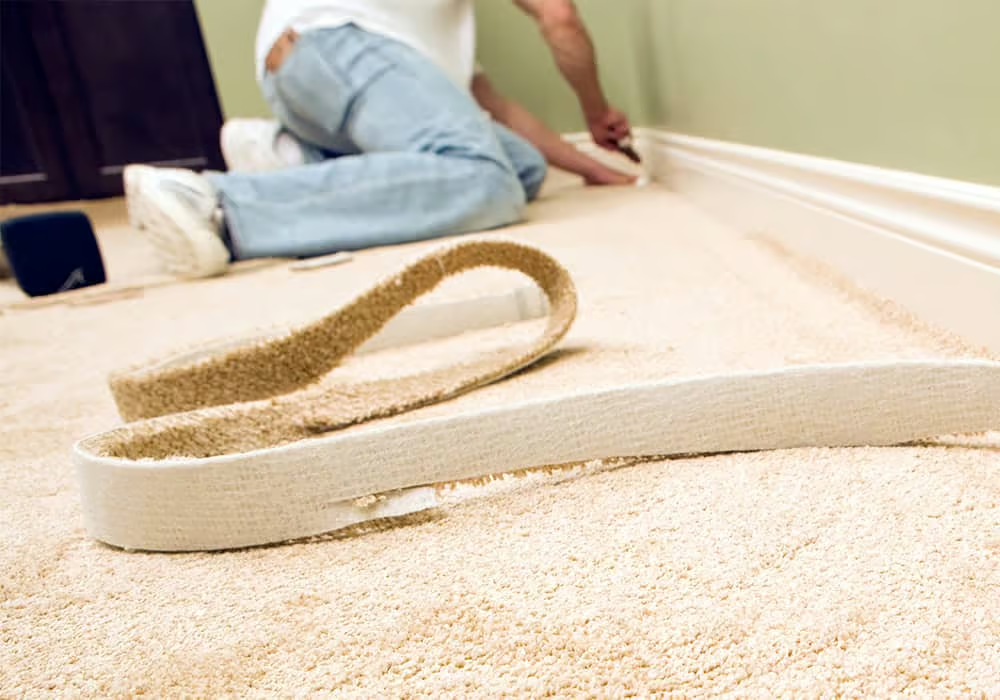
Starting from the longest, straightest wall and working your way back towards the doorway, use your carpet tucker to form a crease against the skirting board.
Then, use your Stanley knife (and a straight edge, if you prefer) to cut along the fold carefully, leaving a 5mm buffer above the finished floor to allow for minor adjustments. Take extra care not to scrape your skirting boards or cut into the carpet underneath when trimming along these edges. Consider cutting the carpet from the back as the crease will be more visible and easier to follow.
For difficult shapes (such as around a door frame), make several vertical cuts down the edge, then trim the carpet flush with the knife.
If you need to fit the carpet around a pipe, make a straight cut from the edge of the carpet to the centre of the pipe. Then press the carpet around the pipe, and trim it by running the knife round the base at a 45 degrees angle until the carpet lies flat.
Stretch and tuck
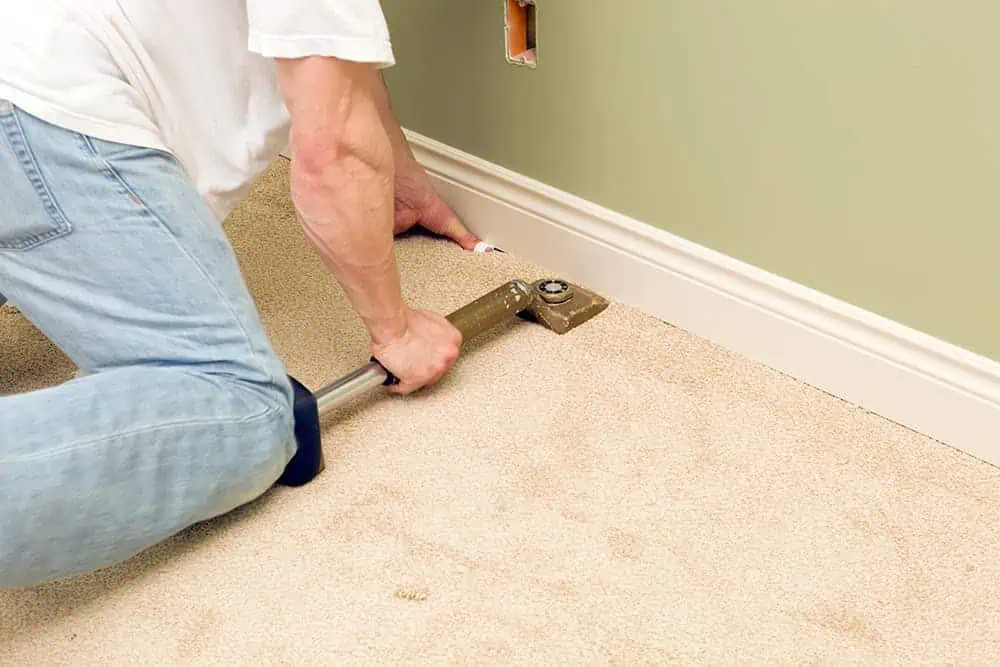
A carpet stretcher (or ‘knee kicker’) is a handy tool that ensures a carpet is properly stretched and fitted over the floor without creases or bunches. It helps achieve a tight fit, which plays a huge part in the look and longevity of the carpet.
For a wrinkle-free result, place your carpet stretcher about 25mm from the skirting with the teeth facing down. Put on your knee pads and apply force to the padded end with your knee to attach the carpet to the gripper. Ensure you apply lots of pressure downwards onto the kicker to avoid the teeth tearing the carpet.
Start in the corner of the room and secure both sides of the corner first before working your way down the longest side of the room.
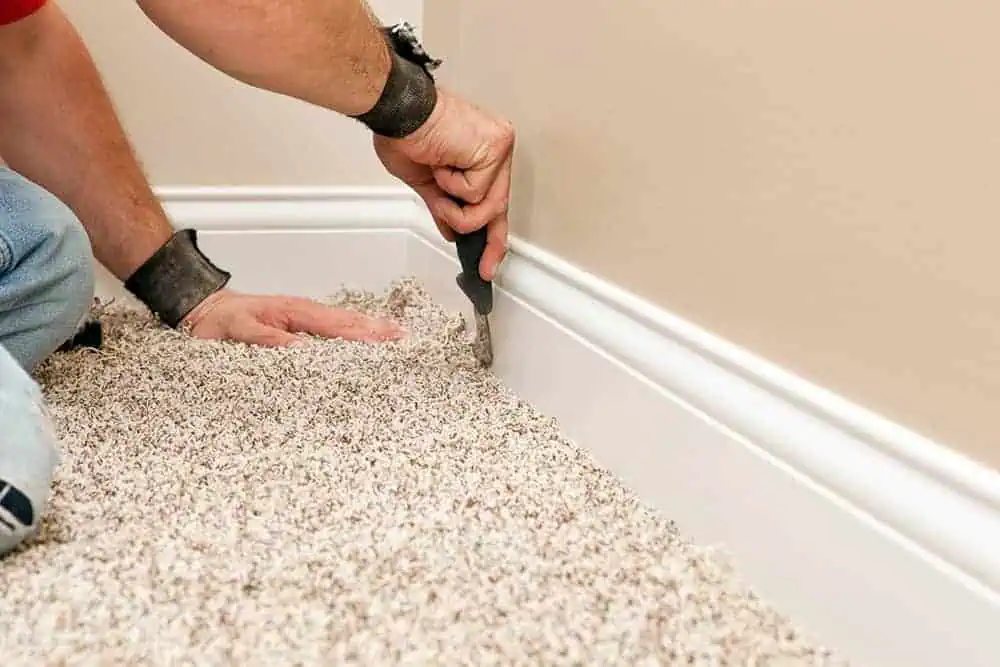
Use your carpet tucker to push the surplus carpet down between the skirting board and the gripper rod. Continue this process along the first wall, trimming, stretching and securing the carpet along the next two walls.
You should run a bolster chisel along the top of the carpet where it is positioned on the grippers to ensure the carpet has grabbed securely all the way along the grippers.
Flooring thresholds
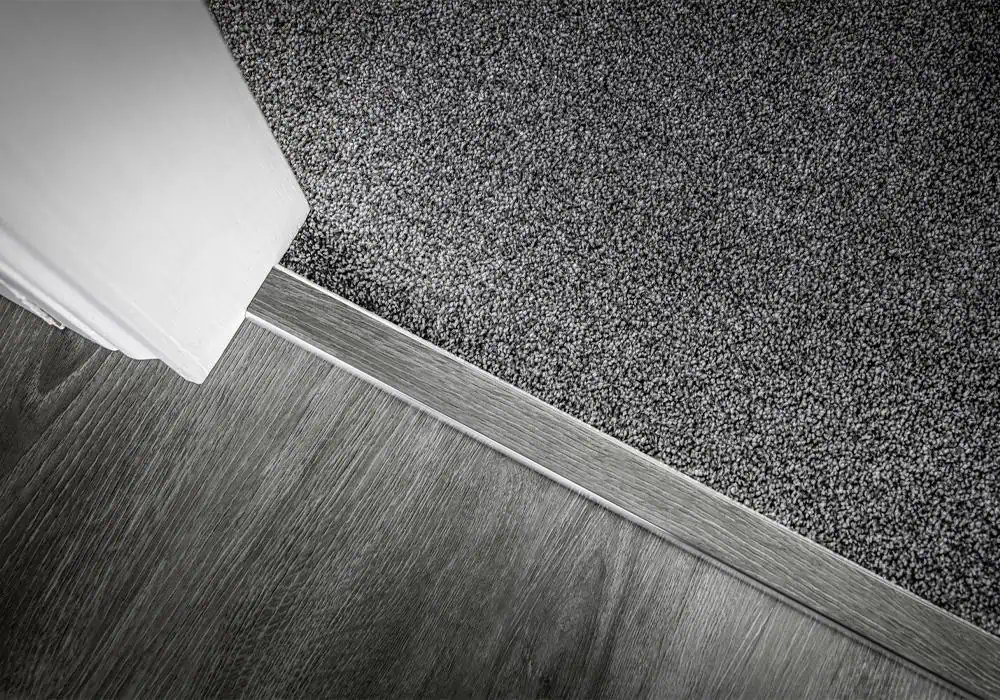
When you reach the room’s entrance, you will need to neatly cut the carpet to size and push the carpet edge into the door bar you fitted previously using your bolster or a screwdriver.
It’s best to apply some spray adhesive (a line approx 50mm wide) to the carpet backing before tucking as it provides additional grab on the doorbar. Once tucked, use your knee kicker to stretch the carpet as far as possible into the door bar.
Step 6: The finishing touches
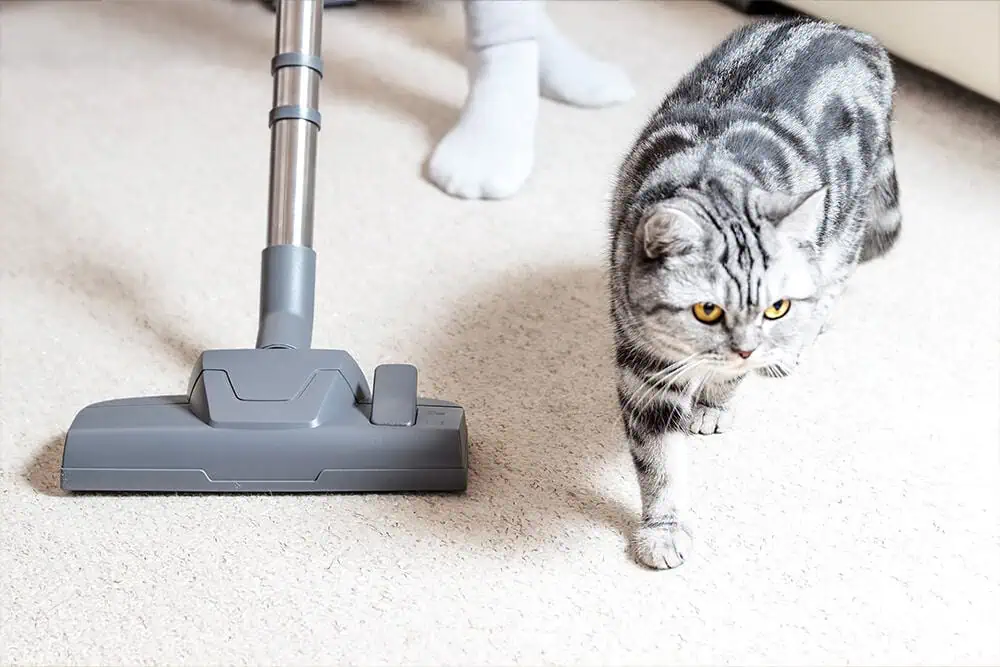
The final step of your DIY mission is to vacuum your new carpet to remove loose fibres and help it settle.
It’s also a good idea to check for loose or wrinkled areas that might benefit from extra stretching or tucking and fine-tune as needed.
Time to admire your handiwork
Hopefully this guide has given you the confidence to have a go at fitting a carpet in your home.
By following these steps, it’s possible to achieve a professional look – don’t worry, your secret’s safe with us!
If you need advice on the right underlay and accessories for your project, get in touch with our expert team at contact@simplyunderlay.co.uk. We will be more than happy to help.

