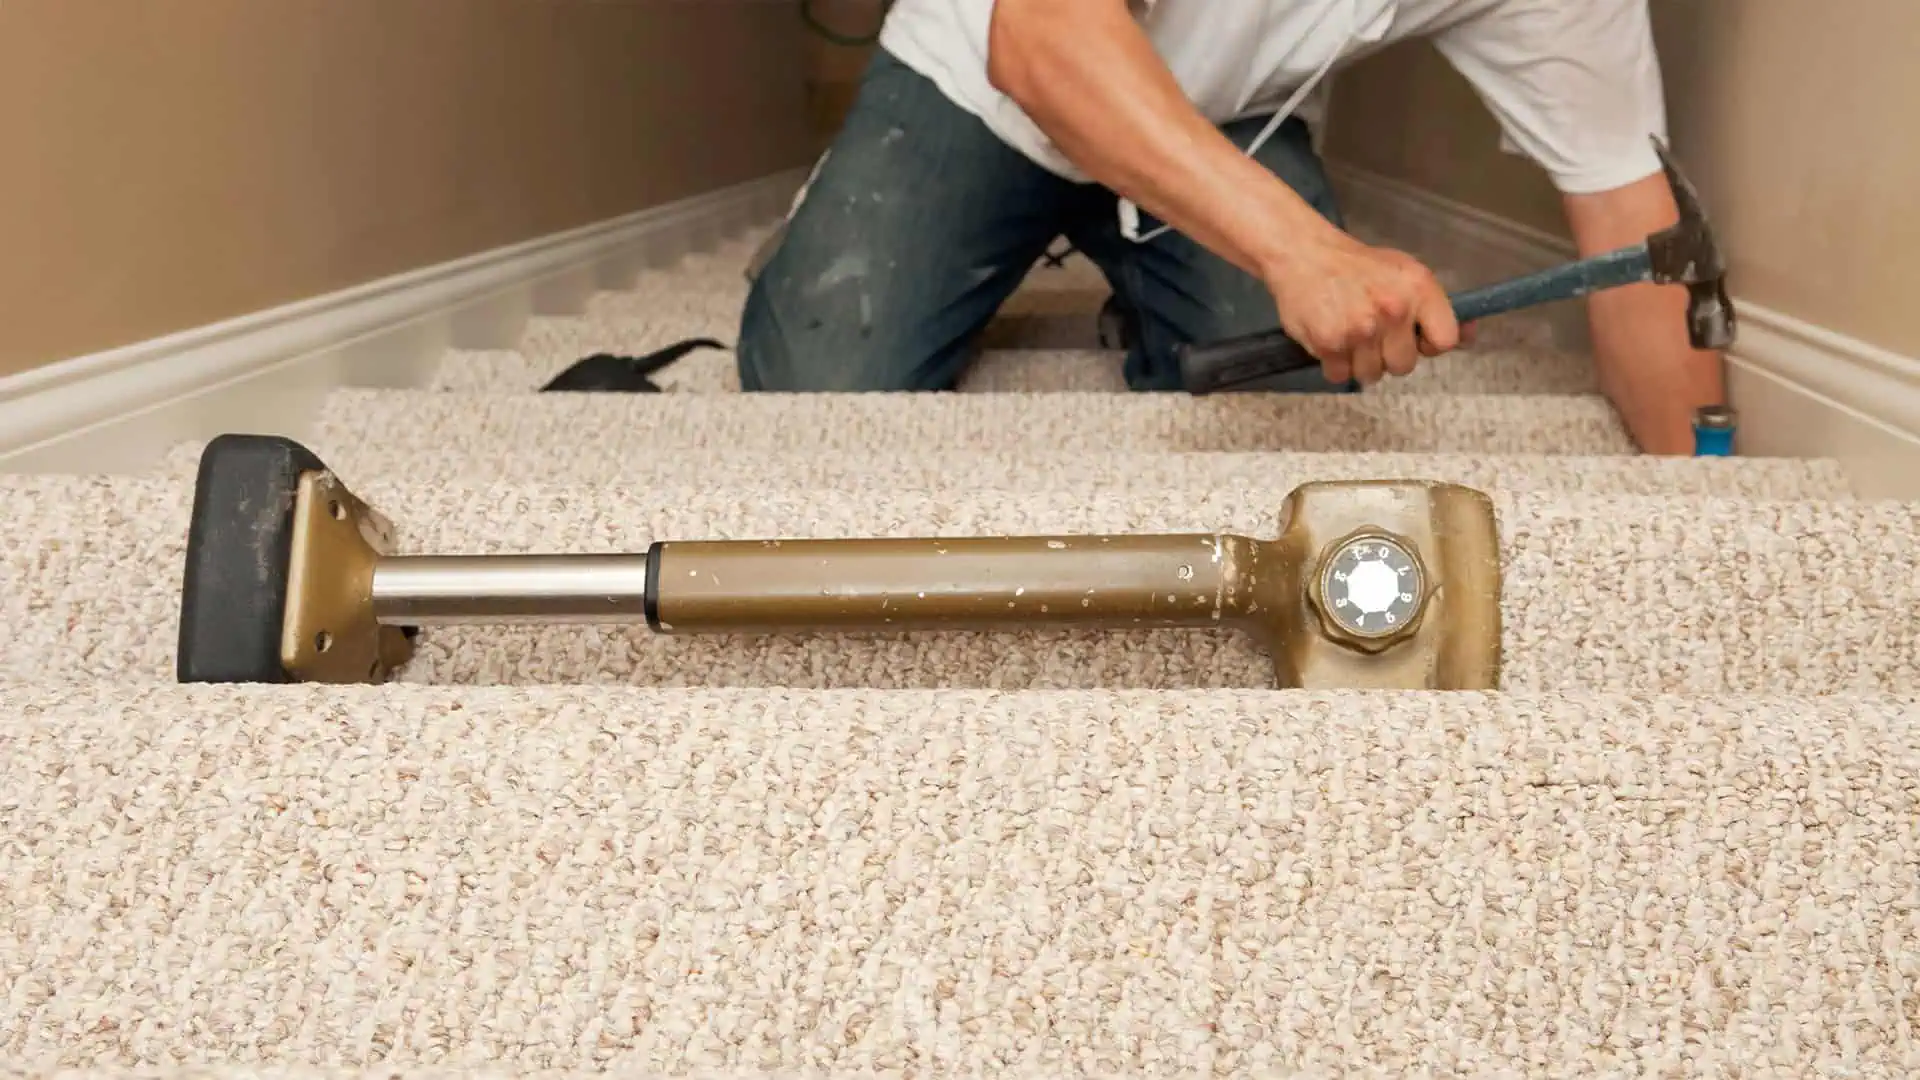
Carpeting your stairs is a great way to quieten those noisy footsteps, and fitting one is easier than you might think. Follow our simple step-by-step guide and get ready to complete your proudest DIY project yet.
Whether you’ve got a standard or complex staircase, we’ll guide you through the whole fitting process. From attaching the gripper rods to laying the underlay to fitting the carpet – here’s how to transform your staircase in 5 simple steps.
In this guide
Tools you may need
Here are the tools and materials you’ll need to install carpet on your stairs:
- Knee pads
- Carpet
- Underlay
- Stapler
- Gloves
- Gripper rods
- Gripper shears or hacksaw
- Stanley knife
- Carpet tucker
- Carpet stretcher (AKA knee kicker)
- Measuring tape
- Hammer
- Nails
Step-by-step stair carpet fitting guide
Step 1: Prepare the staircase
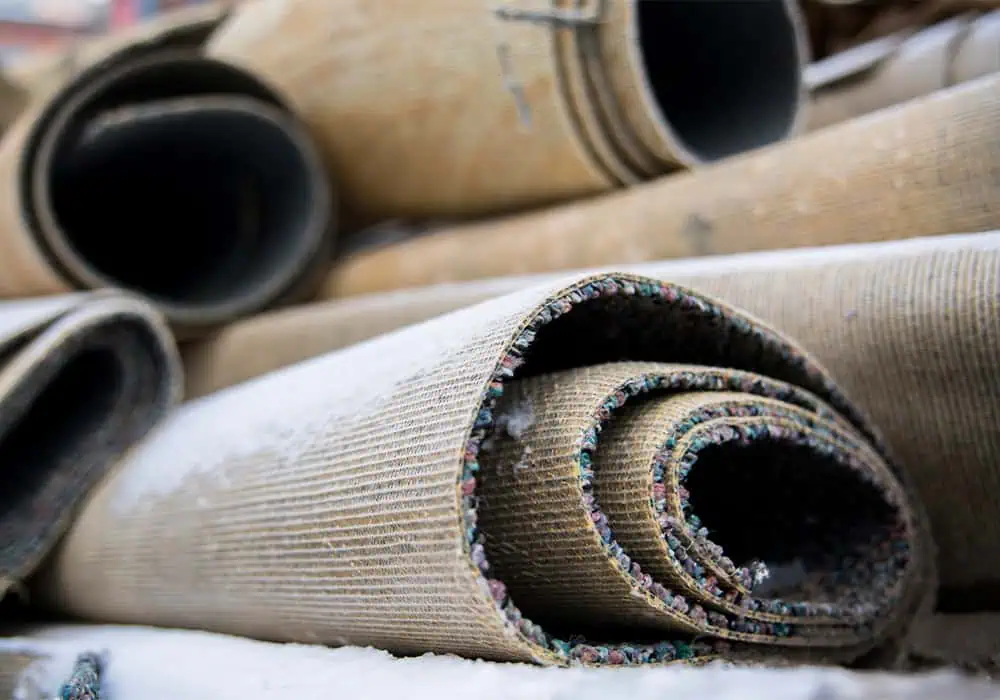
Get your knee pads and gloves on, and starting at the top of your stairs, remove any old carpet, underlay and gripper rods.
Clean the stairs thoroughly, removing any old/loose nails or staples.
This is also the time to make any necessary repairs to the stairs, as a smooth, stable surface is critical to achieving the best results.
Vacuum any debris to make sure your workspace is clear.
Step 2: Install the gripper rods
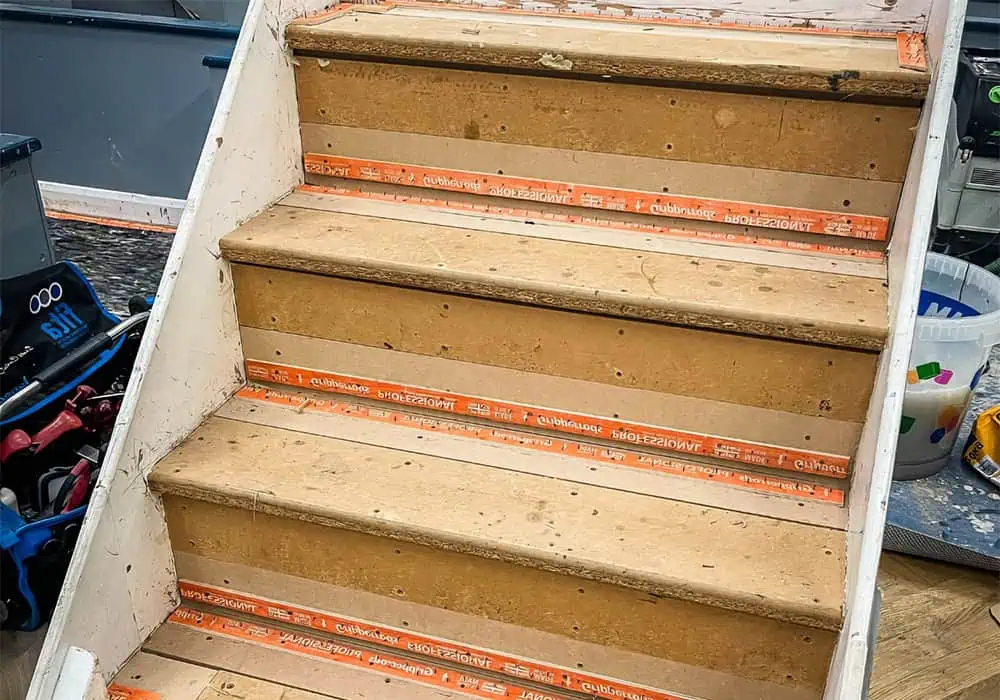
Gripper rods securely hold your carpet in place, and you’ll need two for each step.
Get your gloves on and cut your first rod to size with your shears or a hacksaw. It should measure about 10mm shorter than the width of each tread and riser to allow 5mm on each side for the carpet to tuck in neatly.
TIME SAVER: Once you’ve cut your first rod to size, use this as a template to save you from measuring each one.
When positioning the gripper rods on the treads (the horizontal part of the step), place them about 7mm from the back edge, with the angled pins pointing towards the riser.
When positioning the rods on the base of the risers (the vertical part of the step), place them around 7mm above the tread, with the pins pointing down towards it.
GOOD TO KNOW: The angled pins grip the carpet securely when you stretch it over the steps, preventing it from moving or slipping.
Make sure your gripper rods are positioned centrally. Secure them by hammering the integrated nails or using a quality adhesive like GripFill.
Read more:
Step 3: Cut and fix the underlay
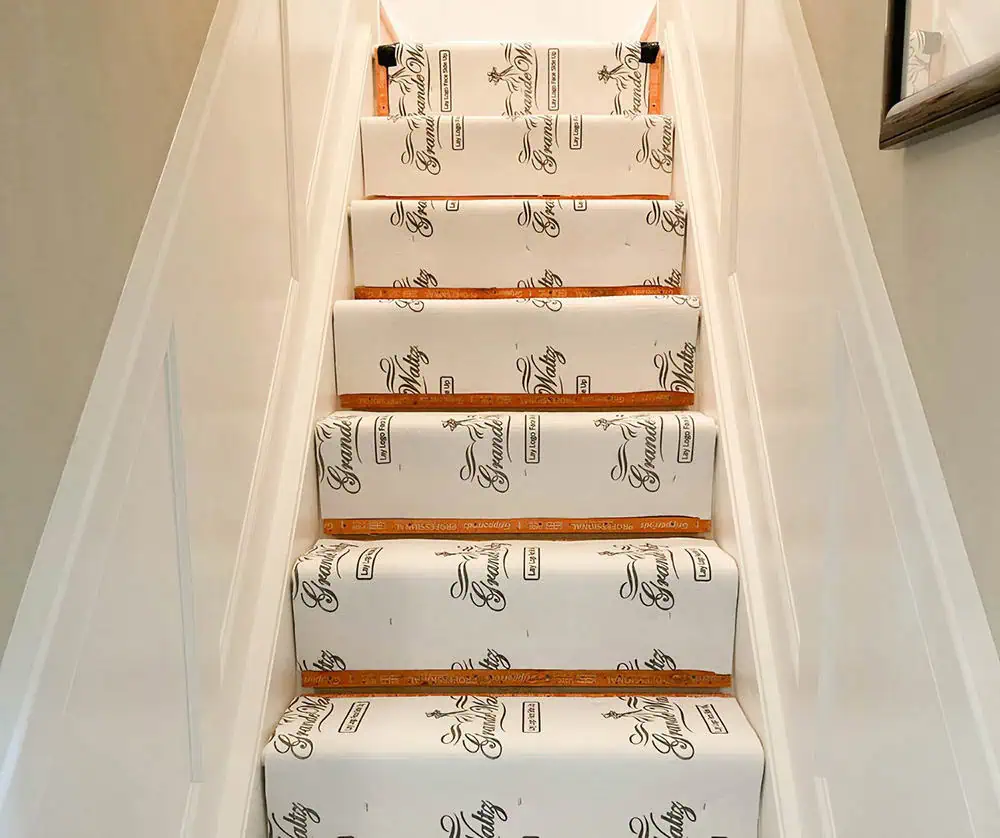
EXPERT ADVICE: When choosing carpet underlay for your stairs, go for a quality product designed to withstand high footfall. Look for a thickness between 6-9mm and a density rating greater than 110kg/m³. This will give you the ideal combination of comfort, durability and noise reduction.
Cut individual pieces of underlay to fit snugly within the area inside the gripper rods on each step. The underlay mustn’t overlap the gripper rods, as this will prevent the carpet from being properly secured.
Attach the underlay to each step by stapling every 50mm around the perimeter using your staple gun, making sure it lies flat without any wrinkles. Each piece should be stapled over the tread and down the riser.
Read more:
Step 4: Cut the carpet to size
EXPERT ADVICE: When choosing your stair carpet, choose something hard-wearing that won’t flatten with constant footfall. This will prolong your carpet’s lifespan.
Most beginners think they must install an entire staircase in a single run, but this isn’t the case. You could, in fact, install a single step at a time if you wanted, but we would recommend fitting as many as you feel comfortable in one go as it’s easier to do.
Measure the tread width on all the stairs you will fit, as staircases vary wildly. Take the widest measurement and add 10mm to the width so that when the carpet is laid flat, it runs up the walls slightly. This excess will be tucked into the gap you left when fitting the gripper rods, creating a neat ‘roll’ down the side of the underlay.
To measure the length, start with your tape at the back of the step, touching the tread riser. Then, take it across the tread depth and down the riser until you hit the tread of the next step. Again, measure a few steps to ensure the length is accurate.
Add around 10% to the overall length measurement as you need a little extra to tuck into each stair crease. You can trim any excess later.
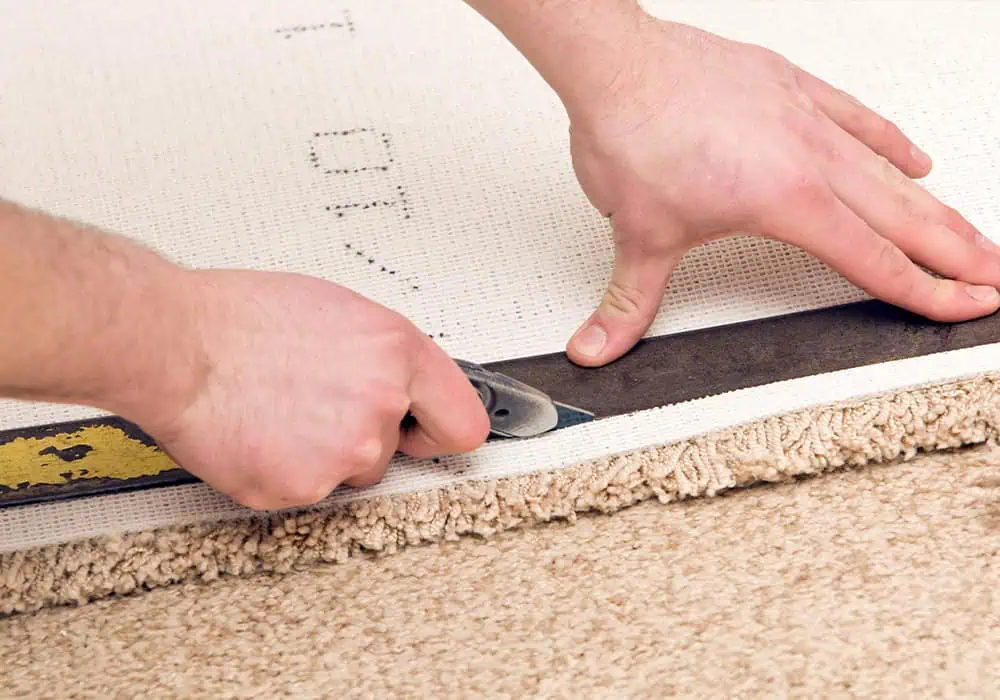
Cut the carpet to size using a straight edge and your Stanley knife. This is easier done on the backing.
Step 5: Fit the carpet
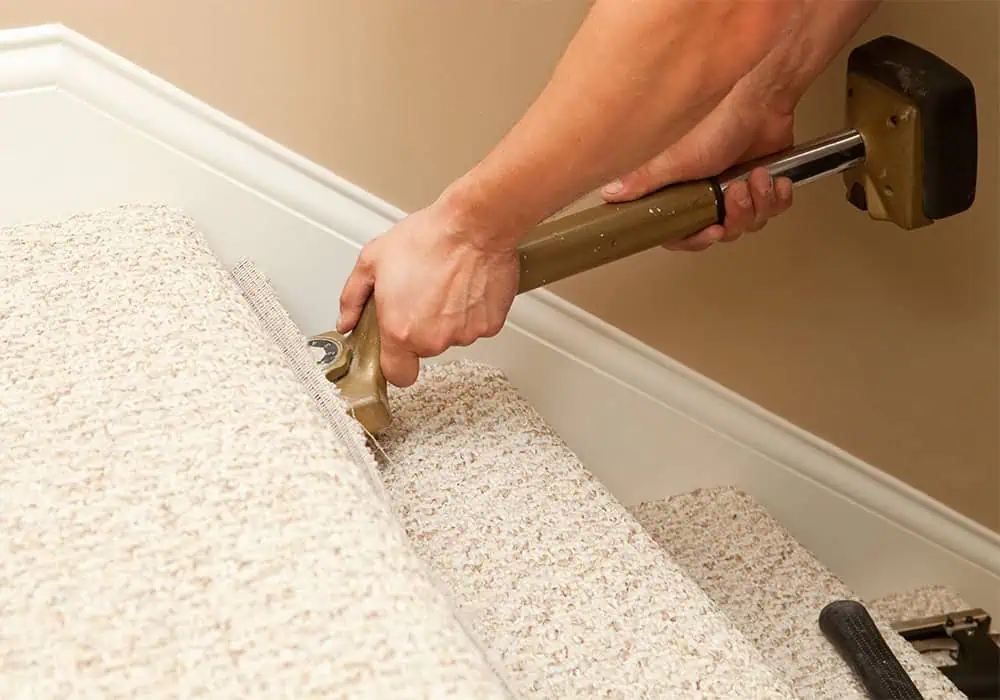
Starting at the top of the staircase, position the carpet on the first tread. Once you’re happy, use the carpet stretcher (knee kicker) to stretch it onto the tread gripper at the back. Once secured, firmly press the carpet onto the gripper rods at the back of the tread with your carpet tucker.
Pull the carpet over the step and down the riser to the next step, ensuring it’s taut, then again fix it to the gripper rods by knocking your carpet tucker into the gap between the two gripper rods, creating a neat crease. Then, use your carpet tucker along the edge of each step to create a nice ‘rolled’ finish.
PRO TIP: If you’re fitting the carpet in multiple lengths, cut the carpet at the base of the step to allow you to hide the join underneath and start your next length with a full step.
For each step, repeat the same process:
- Stretch the carpet over the tread
- Secure it to the gripper rods
- Tuck it neatly into the corners and edges
PRECISION IS KEY: Make sure your carpet doesn’t get narrower as you work your way down the stairs. You don’t want to be left with a gap on either side when you reach the last step.
Fitting carpet on stairs with landings, winding steps, or bullnose steps
The good news is that laying carpet on more complex staircases isn’t much different from a straight staircase.
Here are some top tips:
- Make sure your carpet piece is big enough to cover any wider or curved steps, including bullnose steps
- Cut the carpet to match the exact shape of the turning step or bullnose, paying attention to the curve of the bullnose to ensure a snug fit
- For mid-landings, it’s best to fit the carpet as a separate piece to allow you to guide each section around the turns easily
Time to admire your handiwork
And that’s how to fit a stair carpet like a pro in 5 simple steps. The process takes time and patience, but if you follow this guide carefully, there’s no reason why you can’t do a good job yourself.
If you need advice on the right underlay and accessories for your project, get in touch with our expert team at contact@simplyunderlay.co.uk. We will be more than happy to help.

